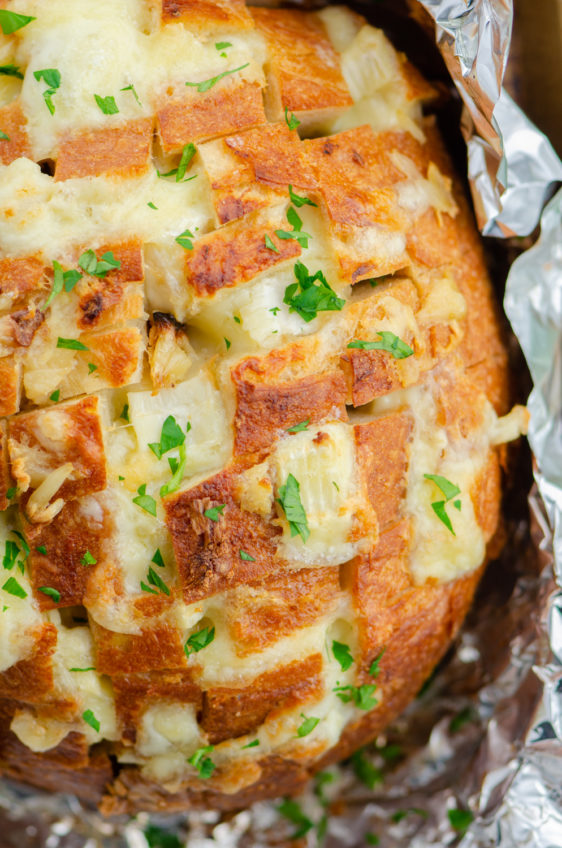
Roasted Garlic and Brie Pull Apart Bread
Buttery, cheesy, and oh so garlicky. This Roasted Garlic and Brie Pull Apart Bread is finger food at it’s most decadent. And it is SO easy to make!
When it comes to cheesy, carb decadence, it does not get much better than this Roasted Garlic and Brie Pull Apart Bread. It is loaded with creamy brie, sweet roasted garlic and butter. I am telling you guys, you need this easy appetizer in your life ASAP.
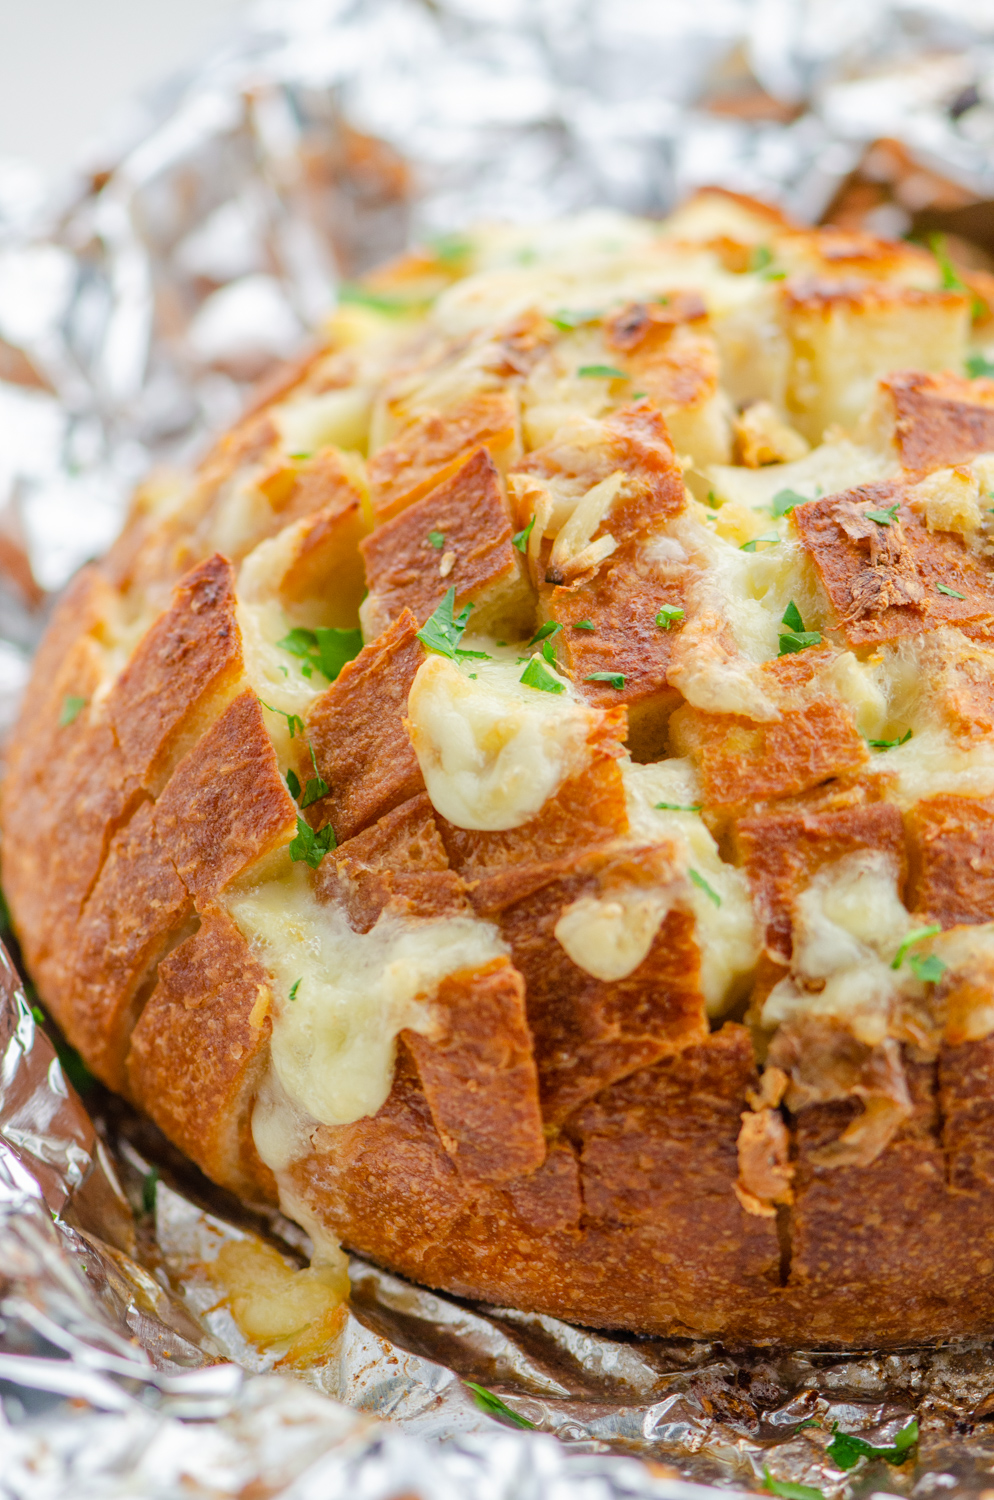
And not only is it delicious and simple to make, this bread is a stunner. It’s one of those dishes that will wow your guests but is incredibly for you to make.
Let’s get to it and I’ll walk you through exactly how to make it!
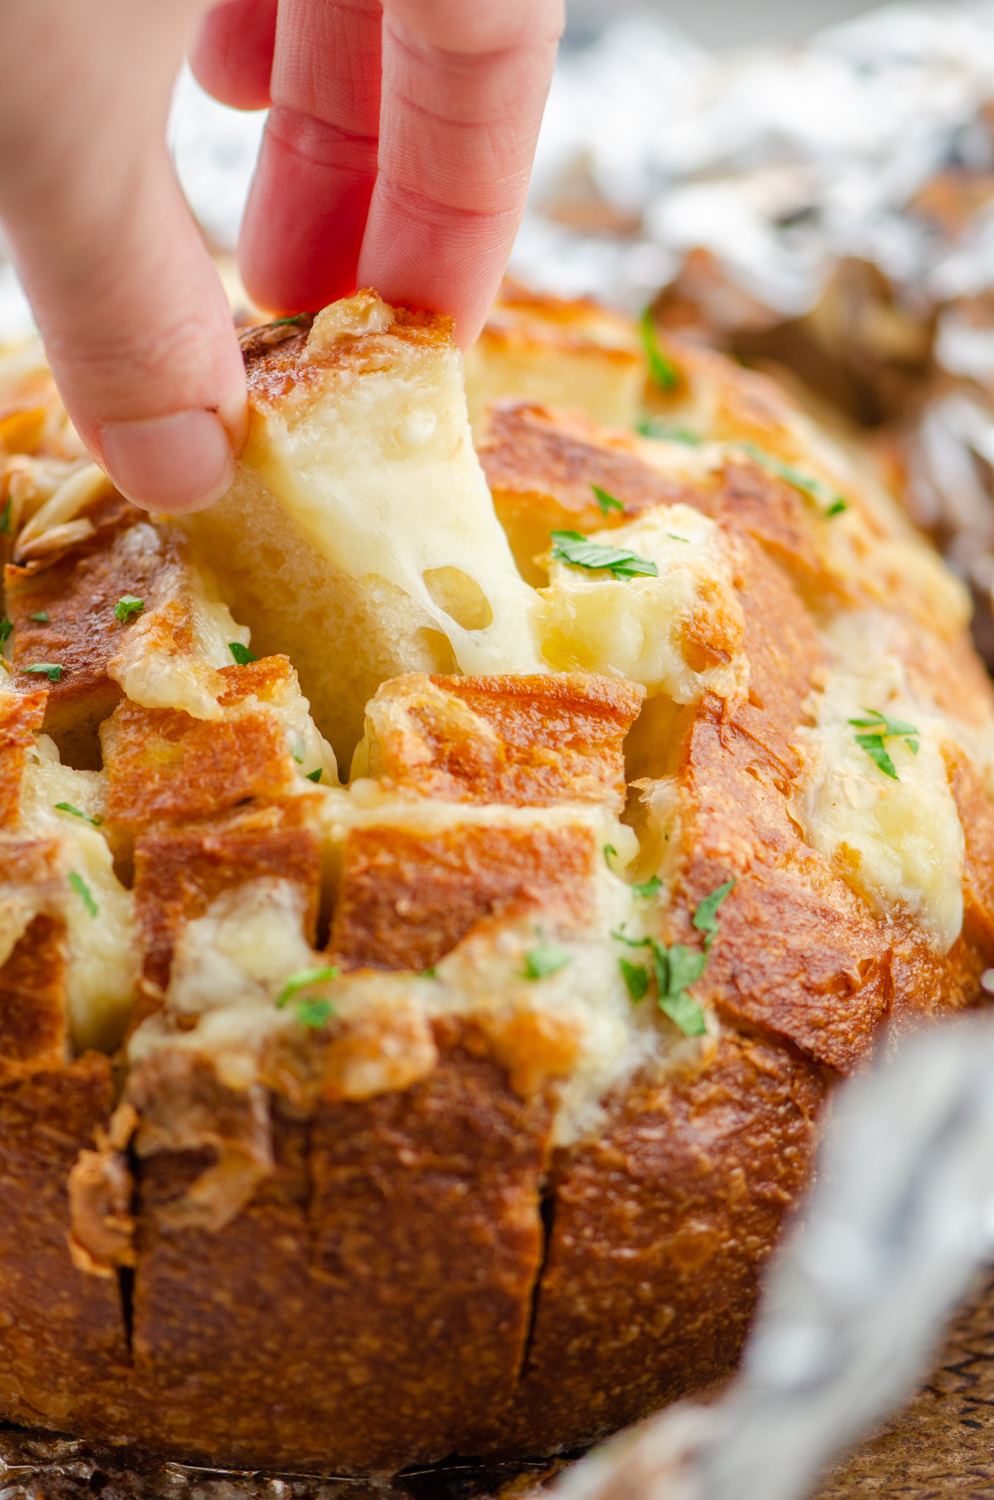
First things first you might be asking yourself “what is pull apart bread?”: It’s a bread that is cut into little cubes that you can eat with your hands. But it’s not just bread. Pull apart breads are generally stuffed with all kinds of deliciousness so that when you pull out a piece of bread you get other bits of goodness too.
In this case, when you pull up a perfect cube of garlic pull apart bread, you get a buttery piece of bread with creamy brie and sweet roasted garlic. It. Is. Heavenly.
What ingredients do you need to make garlic pull apart bread?
One of the great things about this recipe, and so many of the recipes you’ll find here on Life’s Ambrosia is that you only need a handful of ingredients. For this recipe you’ll need:
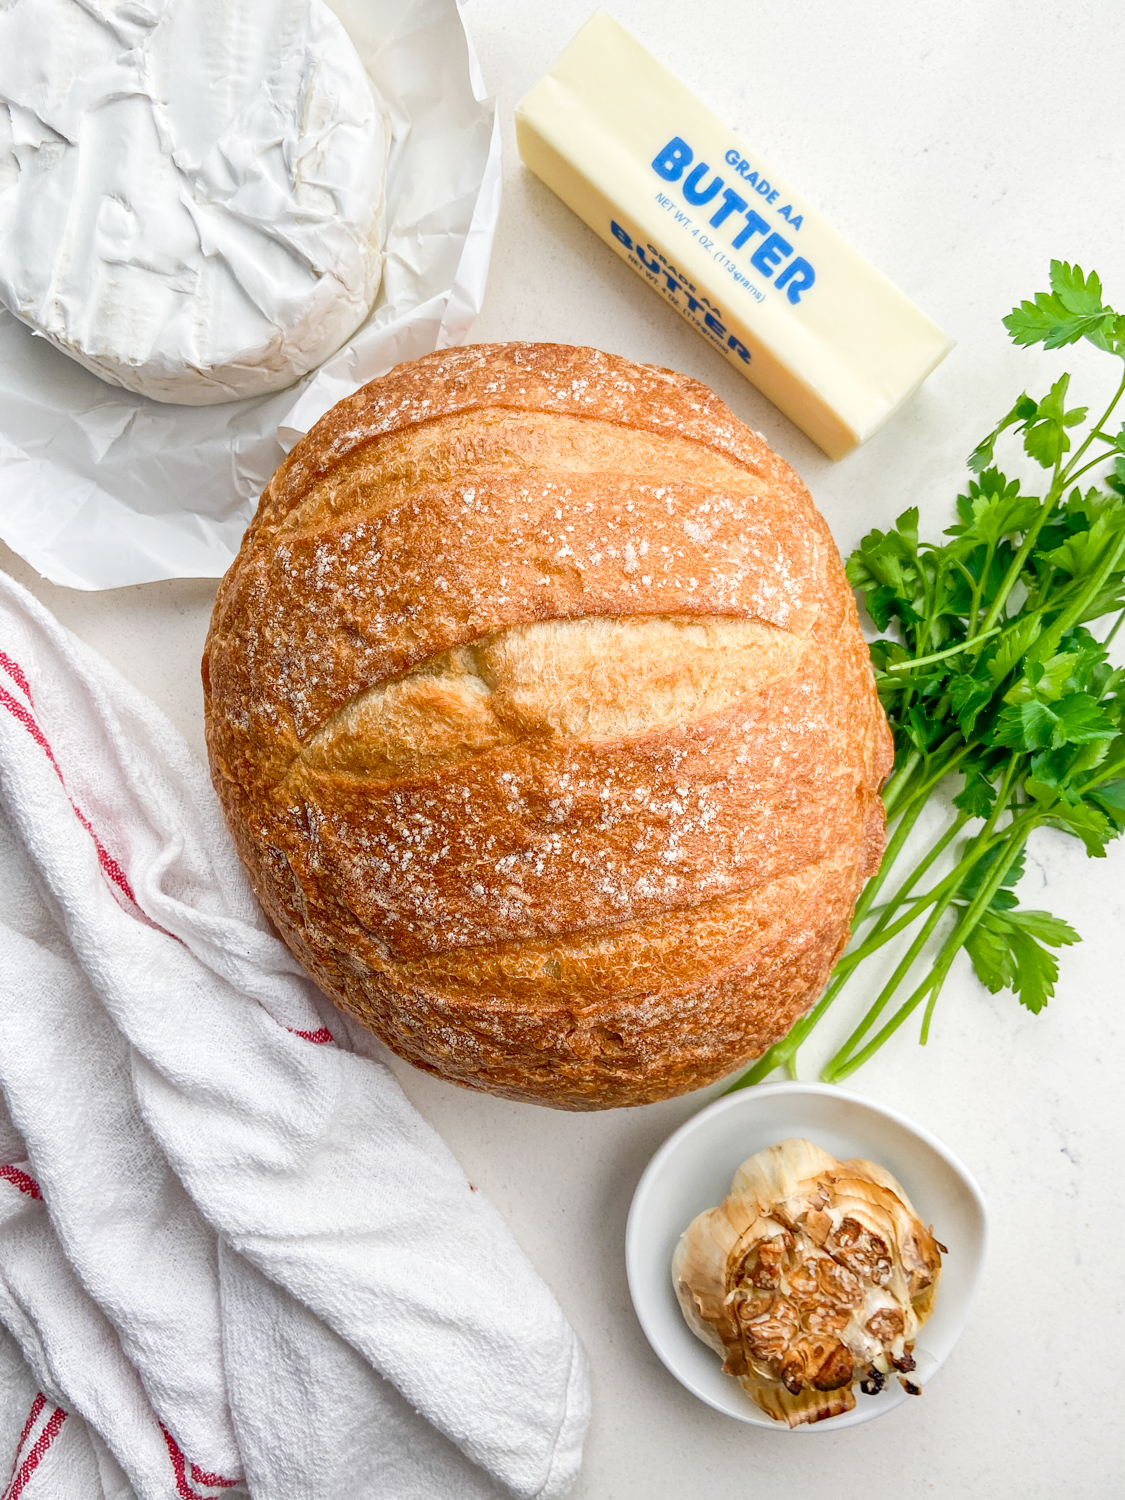
- ROUND BREAD LOAF: This can be sourdough or any rustic loaf of bread. You want the outside to be crusty and the inside soft.
- DOUBLE CREAM BRIE: A wheel of double cream brie with the rind removed. The rind of brie is edible but for this recipe I like to remove as much as possible to allow it melt really well into the bread.
- ROASTED GARLIC: This recipe calls for roasting the garlic yourself but if you can buy some pre-made that would work just fine.
- BUTTER: You can use salted or unsalted.
- PARSLEY: To add a pop of color after cooking.
How To Make Roasted Garlic Pull Apart Bread:
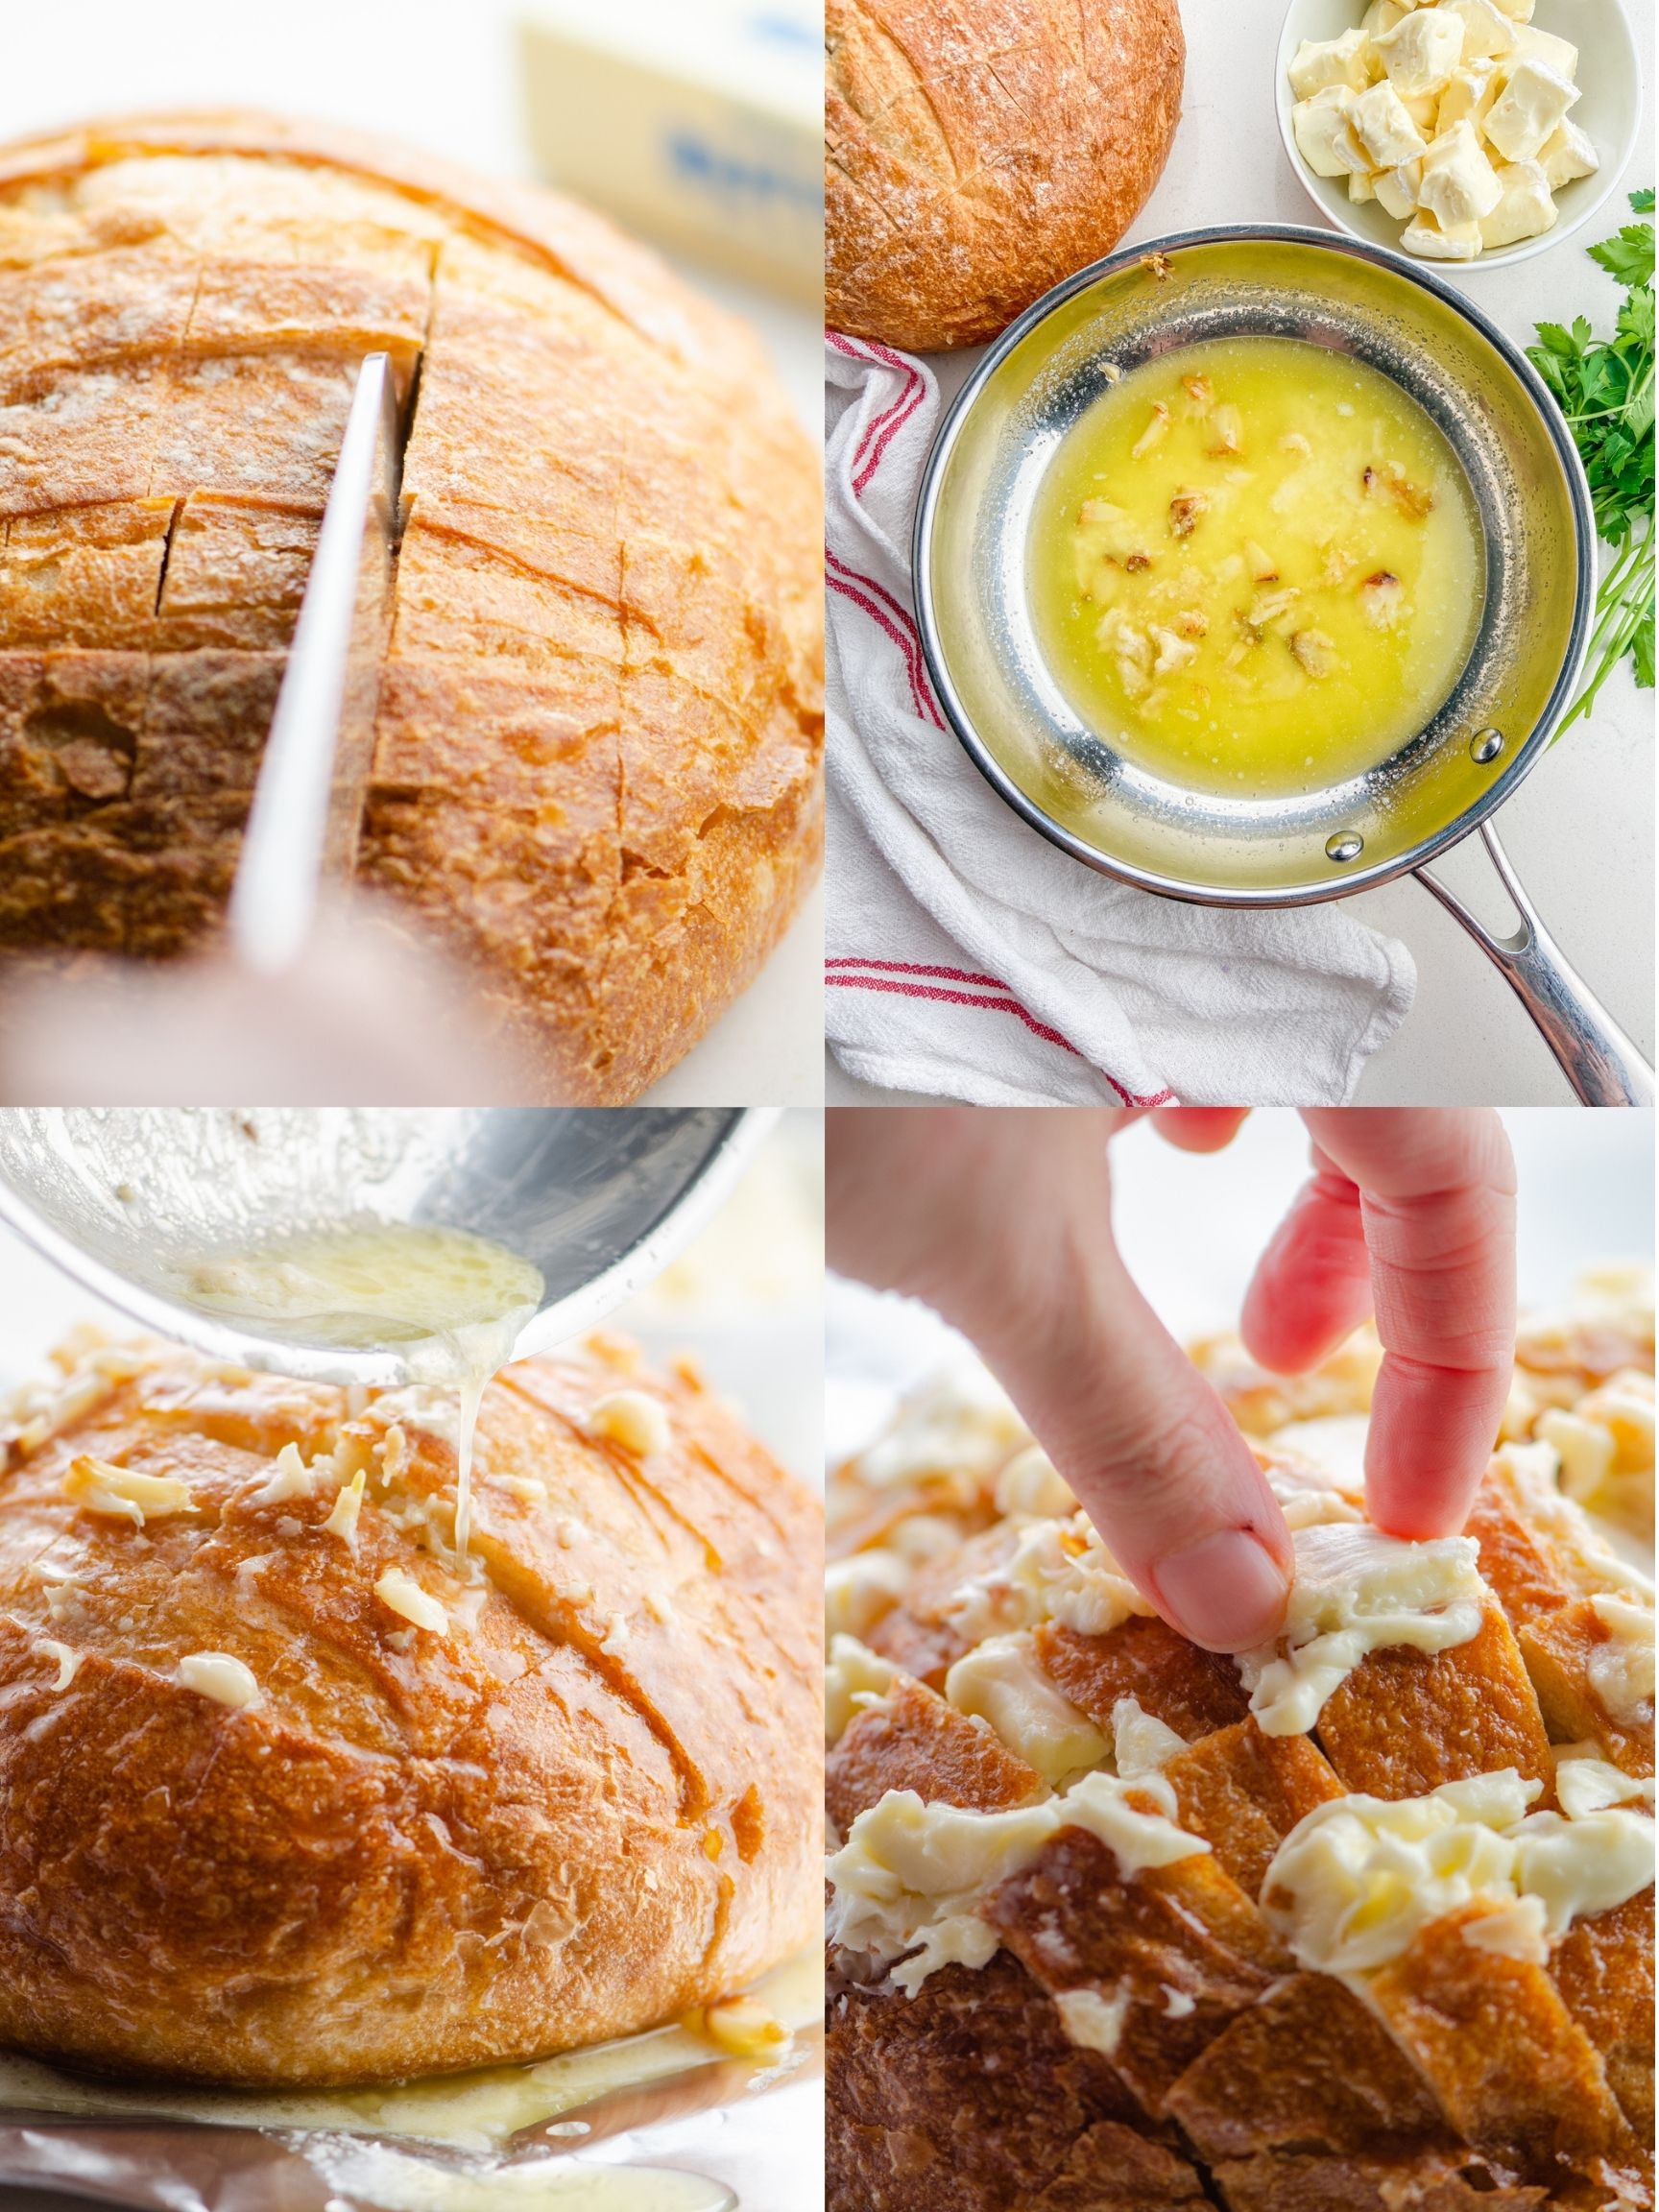
- If you are roasting the garlic, you’ll want to roast it first. Preheat oven to 400 degrees. Cut 1/4 inch off the top of the garlic. Place on aluminum foil. Top with 1 tablespoon butter, lemon juice and sprinkle of kosher salt. Cook for 45 minutes or until garlic bulbs are soft and golden in color. Allow to cool completely then use a fork to remove the cloves.
- Slice the bread vertically and horizontally being careful to not cut all the way through the bread, stop about 1/4 inch from the bottom of the loaf. Place on a sheet of aluminum foil.
- Melt remaining butter with roasted garlic in a medium saucepan over medium-low heat.
- Pour melted butter over the top of the sliced sourdough, gently parting the bread to make sure the butter works its way in to all the little spaces.
- Press diced brie into the cuts of the bread. Wrap in aluminum foil and bake for 15 minutes at 350 degrees.
- Uncover and bake for 10 more minutes. Turn on the broiler and broil for 2 minutes or until the cheese is bubbly. Sprinkle with parsley and serve.
This bread is best eaten right away. A task that is seldom a problem! If, and it’s a big if, you have leftovers, wrap the bread in aluminum foil and refrigerate. Then when are ready, simply reheat the bread at 350 degrees until it’s warmed through and cheese is melted.
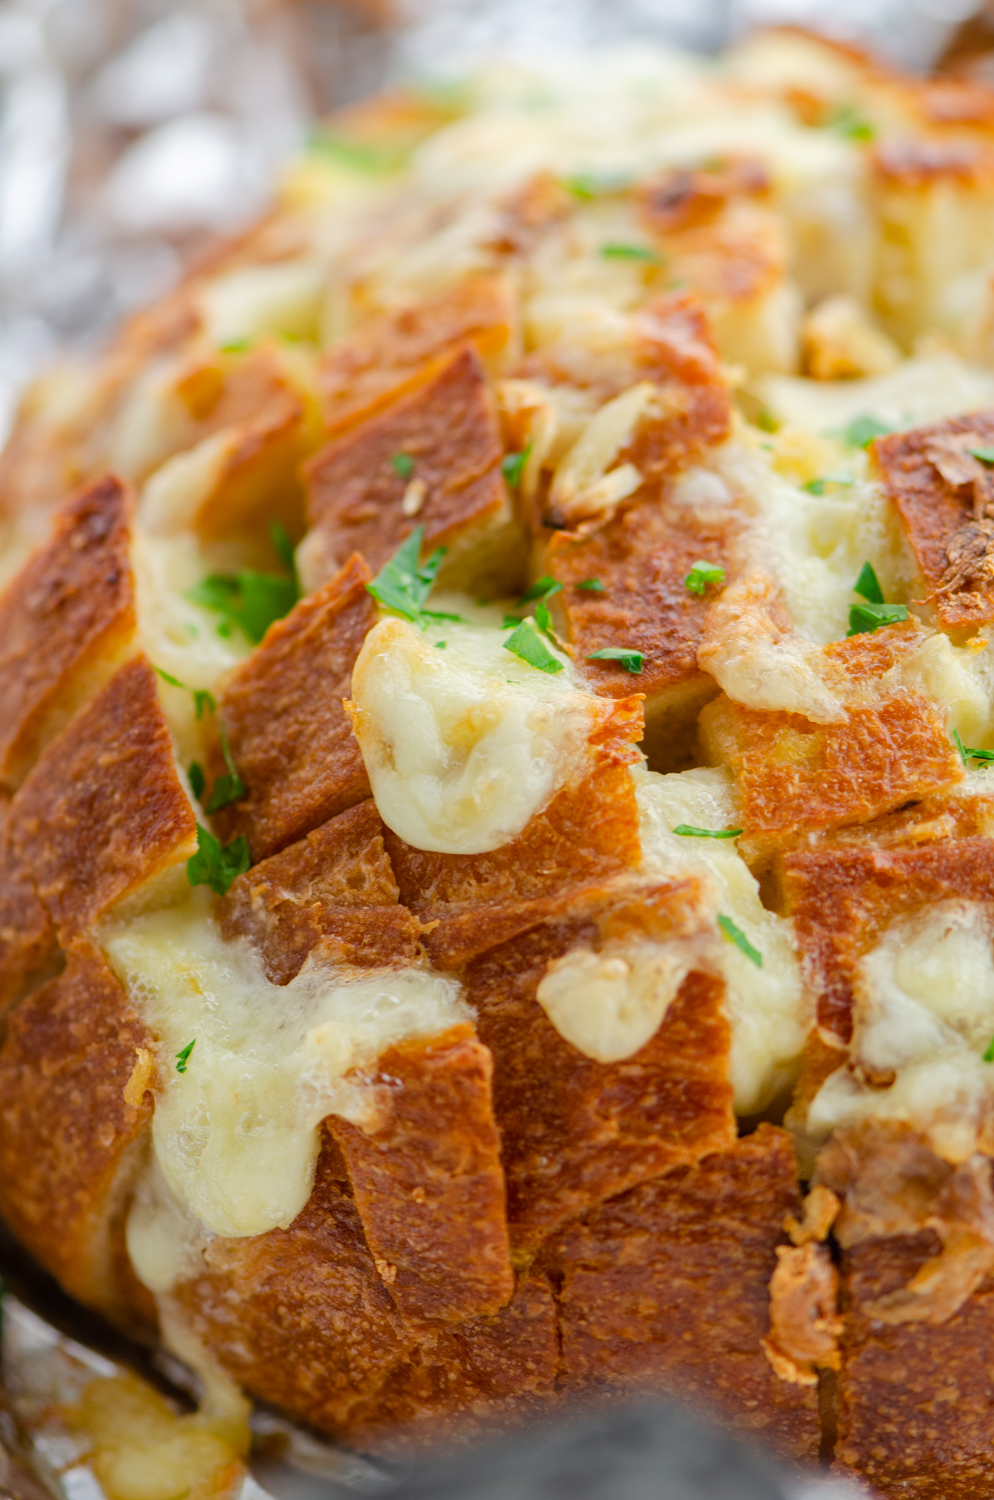
You can serve this as an appetizer or alongside a salad drizzled with Garlic Vinaigrette and make a meal out of it. Whatever you do, you need to make this Roasted Garlic and Brie Pull Apart Bread ASAP. Trust me.
NOTE: This post was originally written in 2013. It was updated with new photos and nutrition information in 2021.
Looking for more easy party appetizers for your next girls night, party or holiday celebration? Try these:
Roasted Garlic and Brie Pull Apart Bread
Ingredients
- 1 large sourdough boule
- 1 bulb garlic
- 8 tablespoons butter divided
- 1 teaspoon lemon juice
- kosher salt
- 8 ounces double creme brie cheese rind removed
- 2 tablespoons chopped fresh parsley
Instructions
- Preheat oven to 400 degrees.
- Cut 1/4 inch off the top of the bulb of garlic to expose the cloves beneath, but do not peel the garlic, you want to roast it in the skin. Place clove on a piece of aluminum foil, place 1 tablespoon butter on top, pour lemon juice over the garlic and sprinkle with kosher salt. Bring up all sides of aluminum foil and twist together to close. Cook for 45 minutes or until garlic cloves are soft and golden in color. Allow to cool. Remove cloves with a fork. Reduce oven temperature to 350 degrees.
- Slice the bread vertically and horizontally being careful to not cut all the way through the bread, stop about 1/4 inch from the bottom of the loaf. Place on a sheet of aluminum foil.
- Melt the remaining 7 tablespoons of butter with roasted garlic cloves in a saucepan over medium-low heat.
- Pour melted butter over the top of the sliced sourdough, gently parting the bread to make sure the butter works its way in to all the little spaces.
- Press diced brie into the cuts of the bread. Wrap the bread in aluminum foil and bake for 15 minutes.
- Uncover and bake for 10 more minutes. Turn on the broiler and broil for 2 minutes or until the cheese is bubbly.
- Remove from oven, sprinkle parsley on top. Serve.

SJR
September 17, 2023 at 6:33 pmMade this tonight. I mashed the roasted garlic cloves and added it to the melted margarine (instead of butter) along with fresh minced basil. I also also added onion powder and paprika to that mixture, and then spooned it into the open sections; my husband meticulously placed the brie into each section. This was mind-blowing…too good, actually! Next time, I may try either Butterkase or Fontina cheese.
Deseree
September 17, 2023 at 9:56 pmSo happy you enjoyed this, SJR! And I am loving the changes you made. You’ll have to let me know if you end up trying those other cheeses. I’d love to hear how it goes!
Bonnie Crim
August 19, 2020 at 5:19 pmAm going to serve this with chicken salad on a bed of lettuce. Don’t you know that this will top off this chicken salad get together with the girls. Add a glass of wine and boy, won’t I be the Queen Bee!😂😂😂😂
Deseree
August 22, 2020 at 11:00 amOh that sounds perfect!!
Manisha
November 9, 2019 at 9:42 amIf I want to freeze it and cook right out of freezer, is there any Diff cooking method?
Deseree
November 10, 2019 at 8:25 amHi Manisha! I have never done that so I am not sure but I would think that you will simply need to cook it longer in the aluminum foil and cook it at a lower temp because you’ll be cooking it longer. I would start with a lower temperature, 350ish and then start checking it after 30 minutes. You want it to get warm and melty before everything starts to brown. Once it’s warm and the cheese has started to melt, then uncover it. I hope this helps!
Carla
January 29, 2015 at 8:28 pmAny suggestions on how to make this and then transport it to a super bowl party? Wondering how far I can go with the recipe then finish at my destination.
Deseree
January 29, 2015 at 9:34 pmCarla- I think you could make it all the way up to wrapping it in foil in step 6. Then finish it once you get to your destination. It might take a little longer to cook because it will be cooler but other then that I think it should work just fine!
Carla
January 29, 2015 at 10:42 pmGreat! Thank you!
Deseree
January 30, 2015 at 12:00 amYou’re welcome! Enjoy :)
Pacco
May 18, 2014 at 4:47 pmgood recipe ? any comments ?
Y
February 28, 2013 at 11:59 amWow. This looks amazing! I had to share this on BlogHer’s Facebook page.
Denise
February 28, 2013 at 8:39 amNever thought of making pull apart with a boule – so much easier then the way I make it! Love this idea. And the garlic and brie just seals the deal!
Zoe
February 27, 2013 at 1:48 pmDefinitely trying this this weekend.
Emilee
February 27, 2013 at 1:21 pmthis looks AMAZING. Bread, cheese, and garlic… three of my favorite things! Though, I would make one change… instead of 4-6 servings, ONE serving, all for ME! lol
StephenC
February 27, 2013 at 11:27 amHere’s yet another thing I have never even contemplated making. This post has changed all that. When I roast garlic I prefer to cut it across the middle and roast the two halves separately so as not to waste any of it.