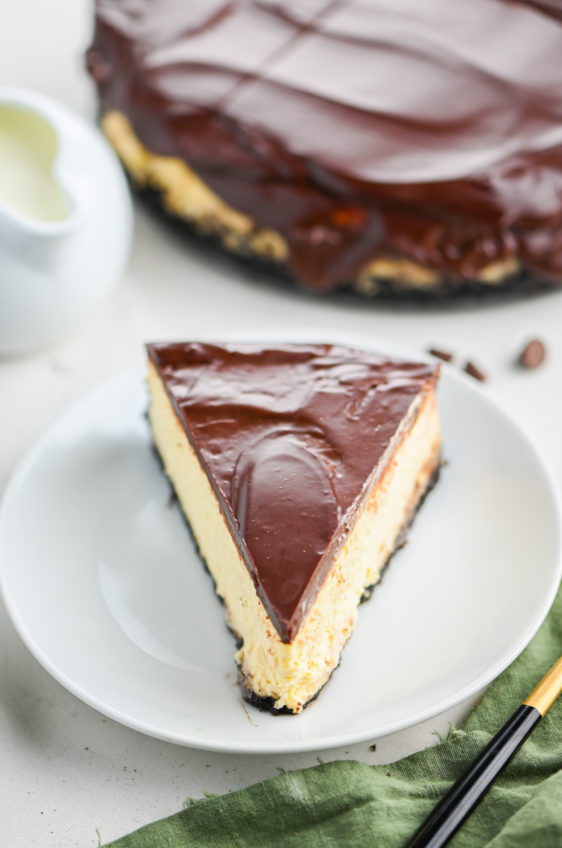
Baileys Cheesecake with Chocolate Ganache
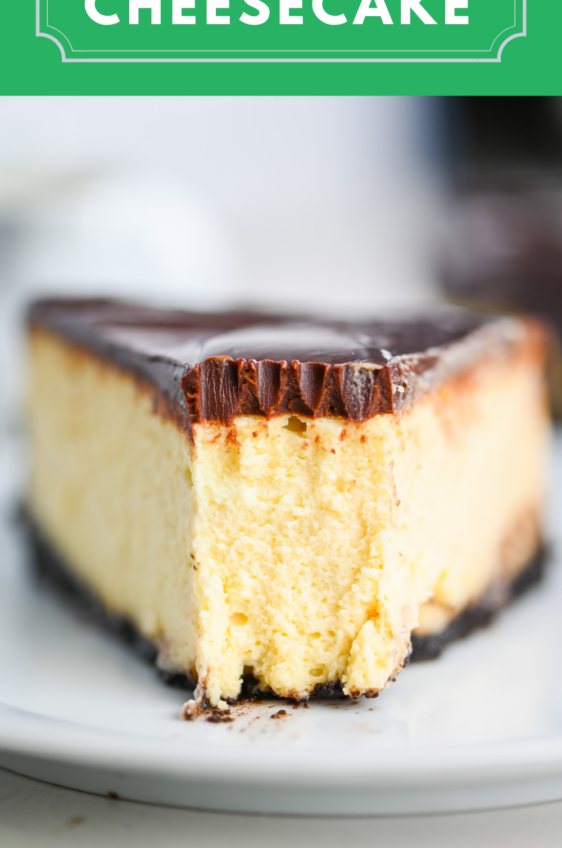
This Baileys Cheesecake takes traditional cheesecake to a whole new level. With Baileys mixed in and a layer or chocolate ganache its pure decadence.
It’s not secret that I am a big cheesecake fan. Whether it’s a Cherry Cheesecake, a Caramel Apple Cheesecake or even in bar form like Pumpkin Cheesecake Bars, I am a sucker for a luscious, decadent bite of cheesecake. How about you?
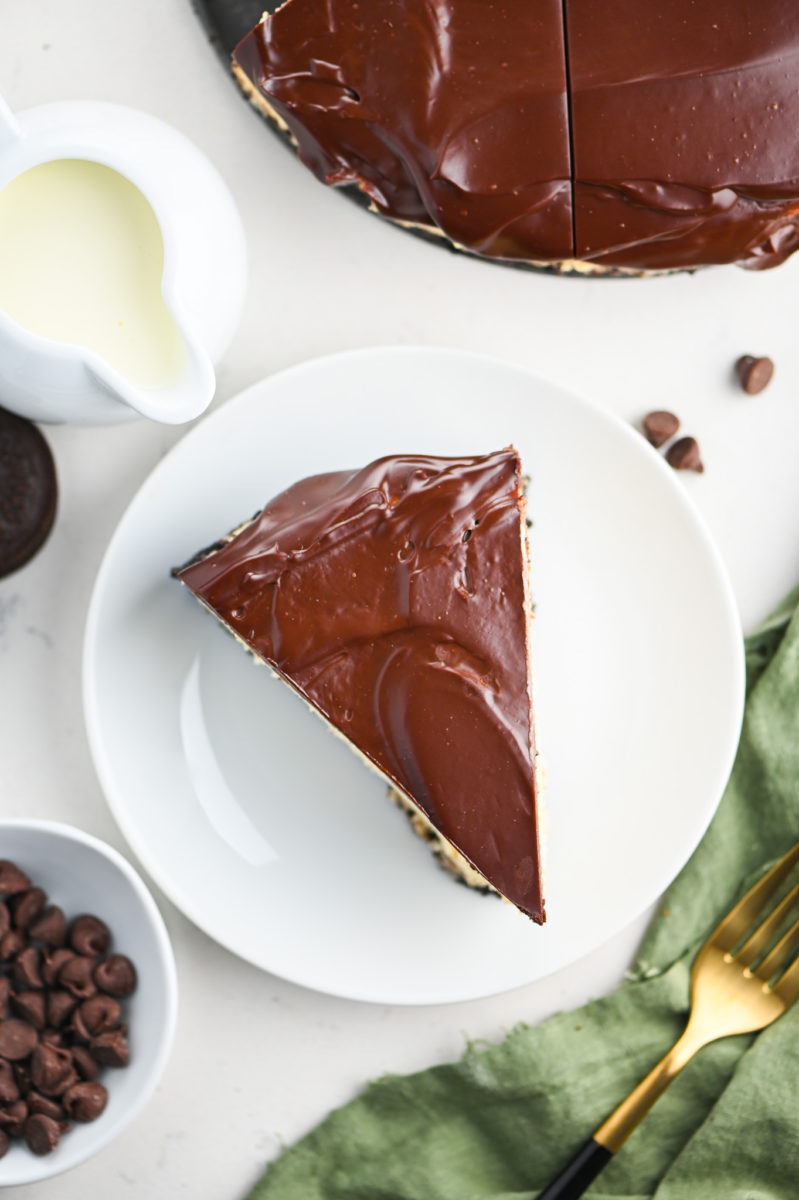
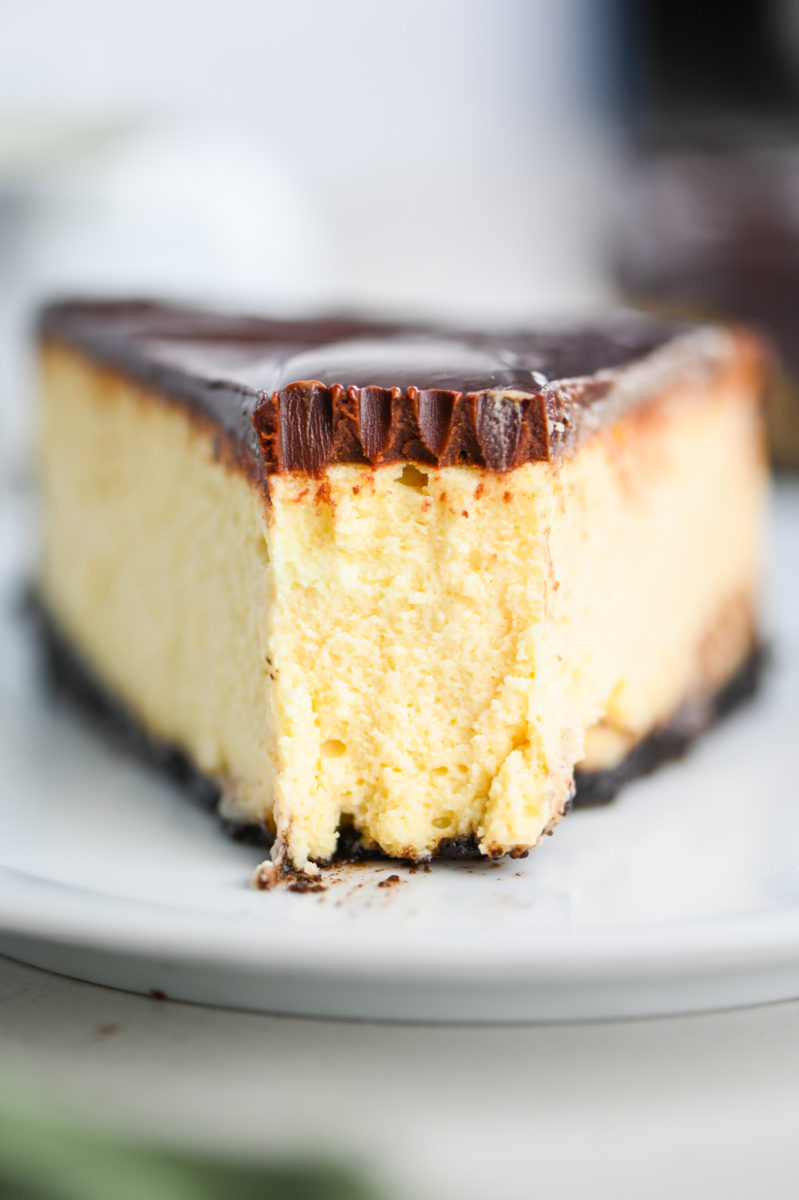
This Baileys Cheesecake checks all the boxes in the decadent dessert department. The crust is a layer of crushed Oreos. The cheesecake itself is the creamy bliss that you associate with cheesecake but with the subtle flavor of Baileys Irish Cream. And if that is not enough, it is topped with a thick layer of homemade chocolate ganache.
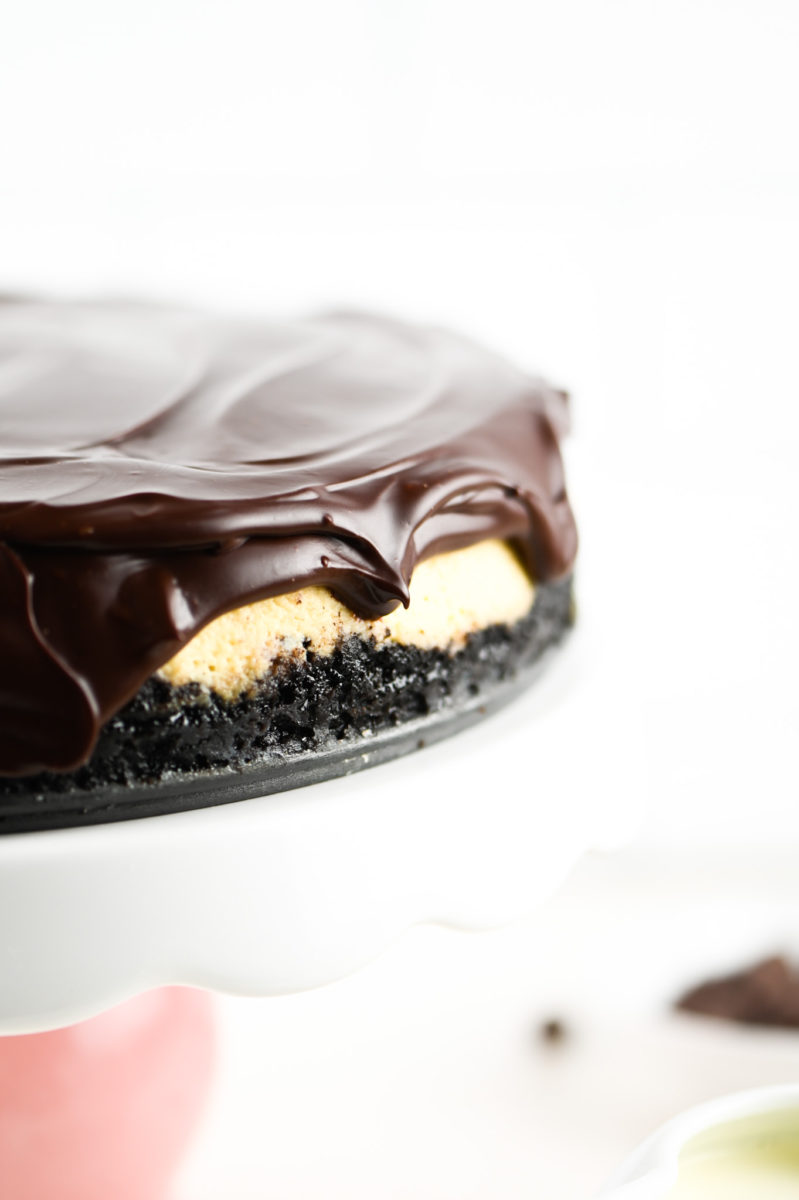
It is pure indulgence. Let’s talk about what you need to make it.
Baileys Cheesecake Ingredients:
There are three separate parts to this recipe: the crust, the cheesecake and the ganache.
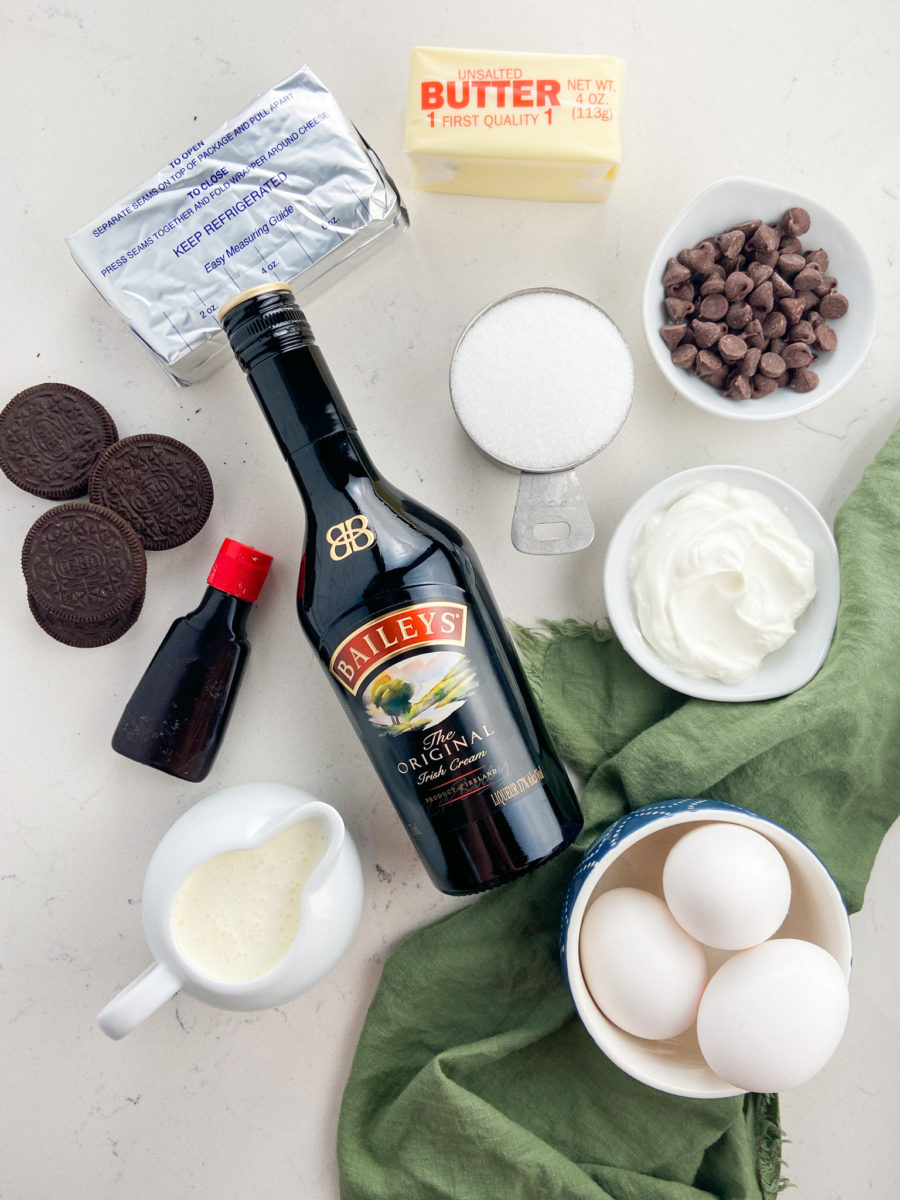
For the Oreo Crust you’ll need:
- OREO COOKIE CRUMBS: You’ll need about 2 cups of Oreo cookie crumbs which is about 22 cookies. No need to remove the filling.
- MELTED BUTTER: This will help hold the crust together.
For the Baileys Cheesecake you’ll need:
- CREAM CHEESE: It is very important that the cream cheese is at room temperature. This will help make the cheesecake smoother.
- GRANULATED SUGAR: Where the cheesecake gets its sweetness.
- EGGS: Cheesecake is a “custard” dessert so you’ll need eggs too.
- BAILEYS IRISH CREAM: Where the dessert gets its name! Adds a subtle Irish Cream flavor to the cheesecake. You can substitute your favorite Irish Cream if you don’t have Baileys.
- HEAVY CREAM: Adds decadence to the batter.
- SOUR CREAM: Softens the texture of the cheesecake and adds a bit of tang.
For the Chocolate Ganache:
Chocolate ganache is actually super easy to make and only needs TWO ingredients!
- BITTERSWEET CHOCOLATE CHIPS: I love dark chocolate so I prefer to use dark chocolate chips whenever I make ganache. You could also use semi-sweet if that is what you have on hand.
- HEAVY CREAM: Just like it makes the cheesecake decadent, heavy cream gives ganache that same decadence.
Step by Step Photos and Instructions:
A lot of people are intimidated by the idea of making cheesecake but once you learn the technique you’ll find that it’s just as easy as baking any other cake. I’ll walk you though it step by step, just follow along.
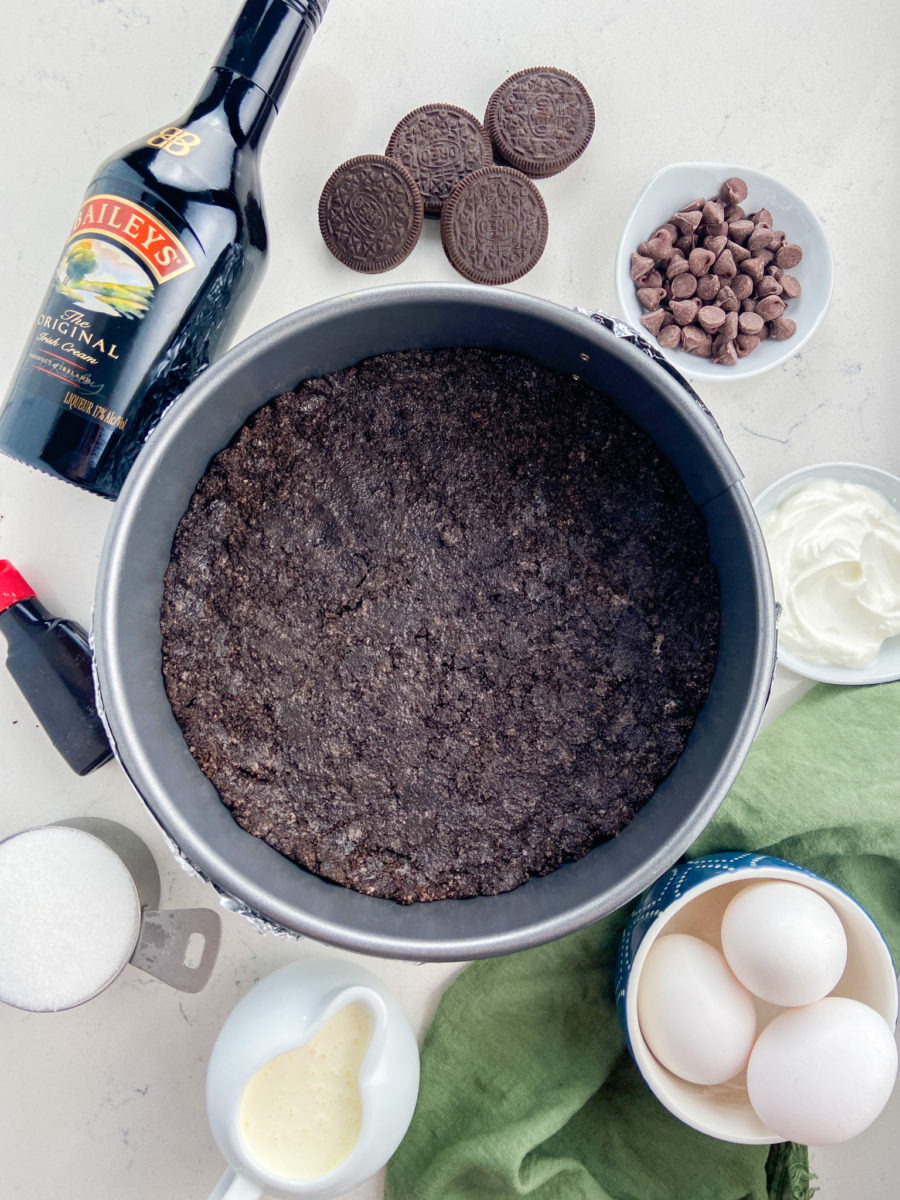
Make oreo crust. 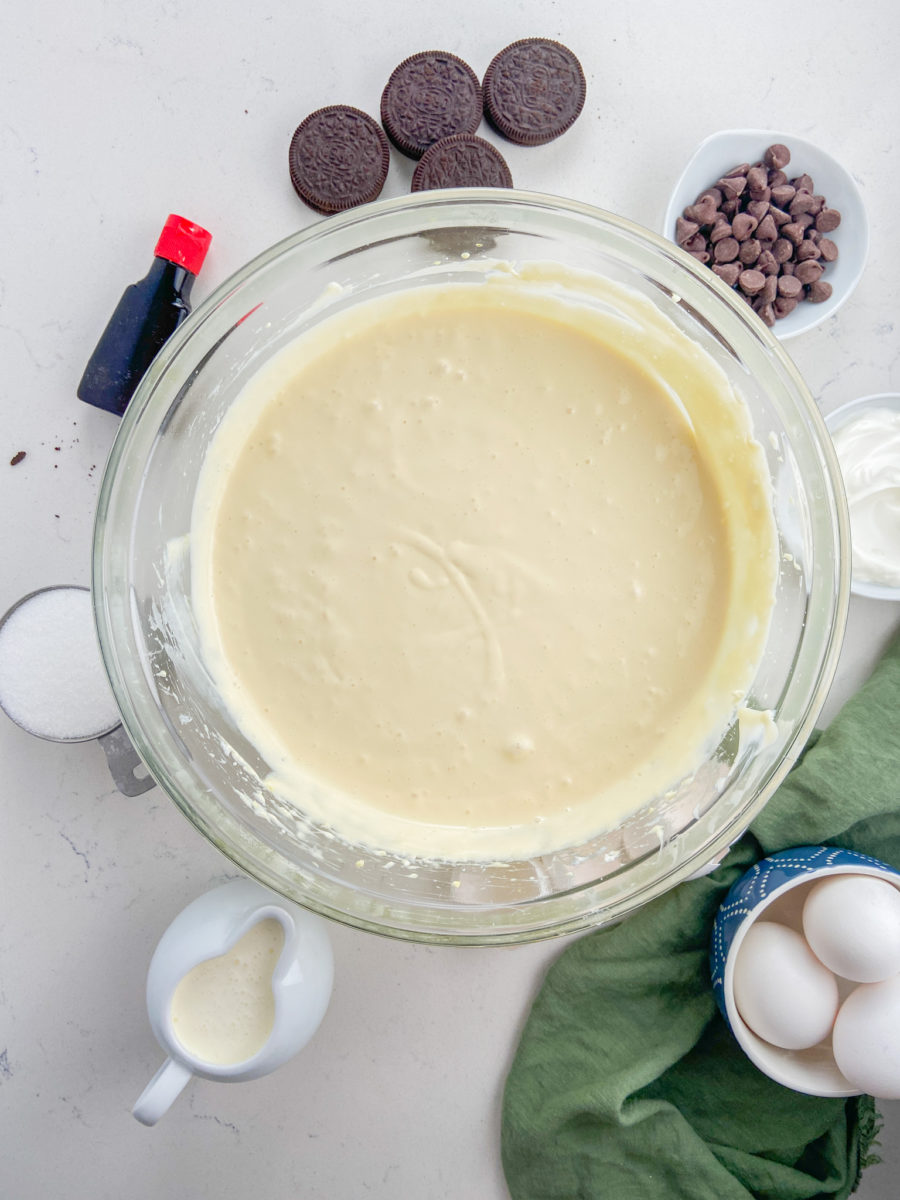
Make cheesecake filling. 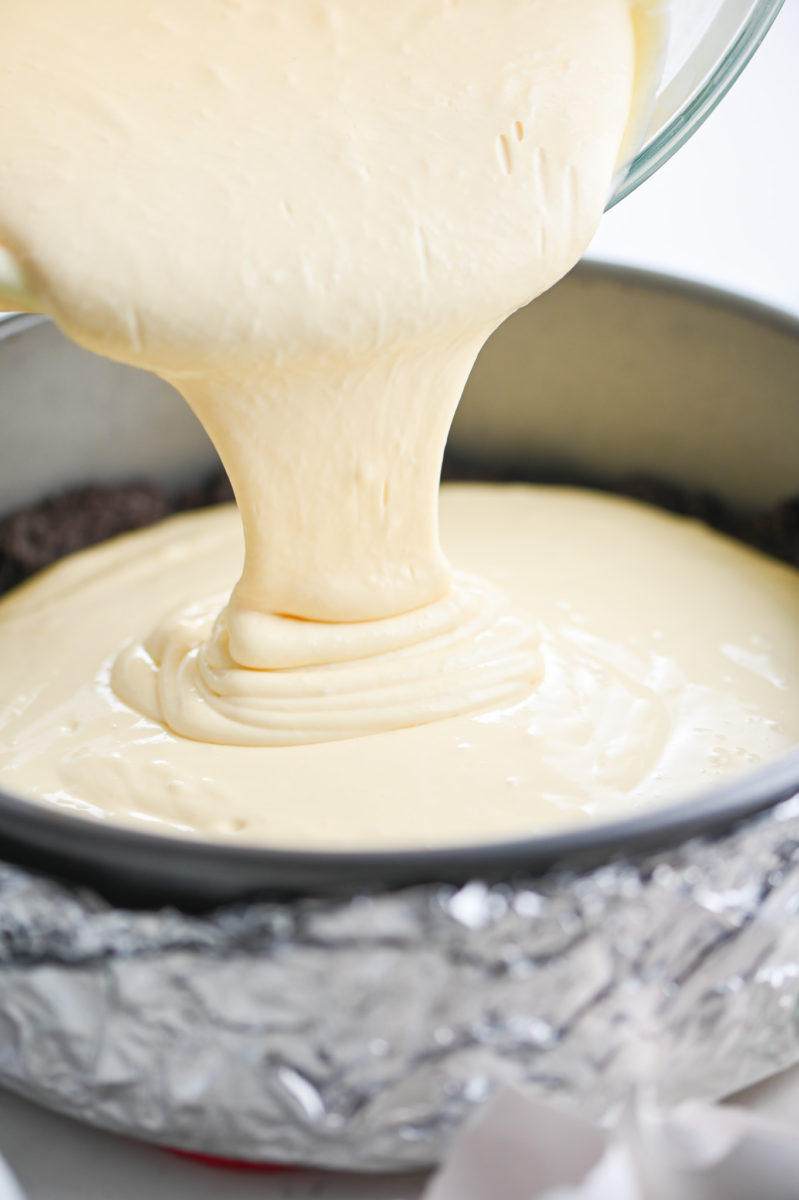
Pour cheesecake filling into cooled crust. 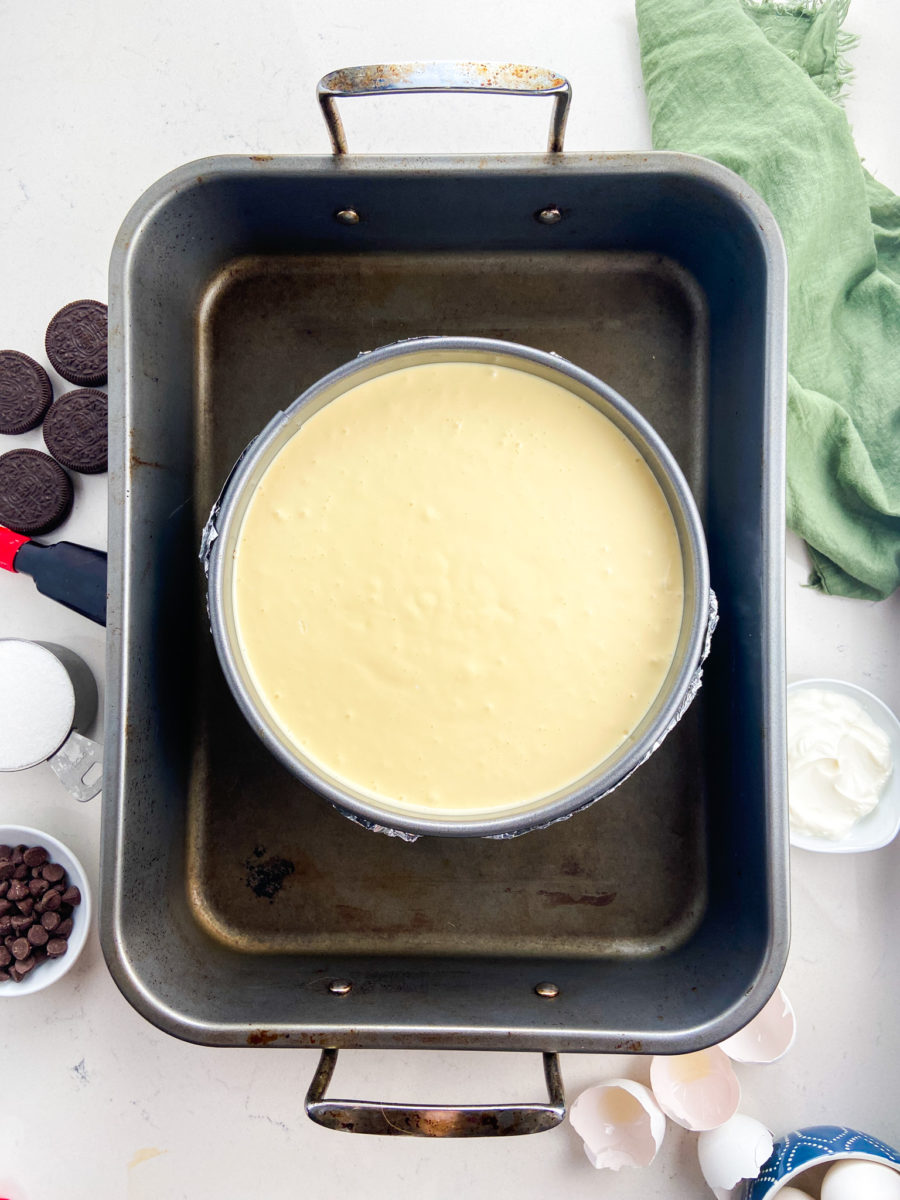
Bake cheesecake in water bath. Chill overnight. 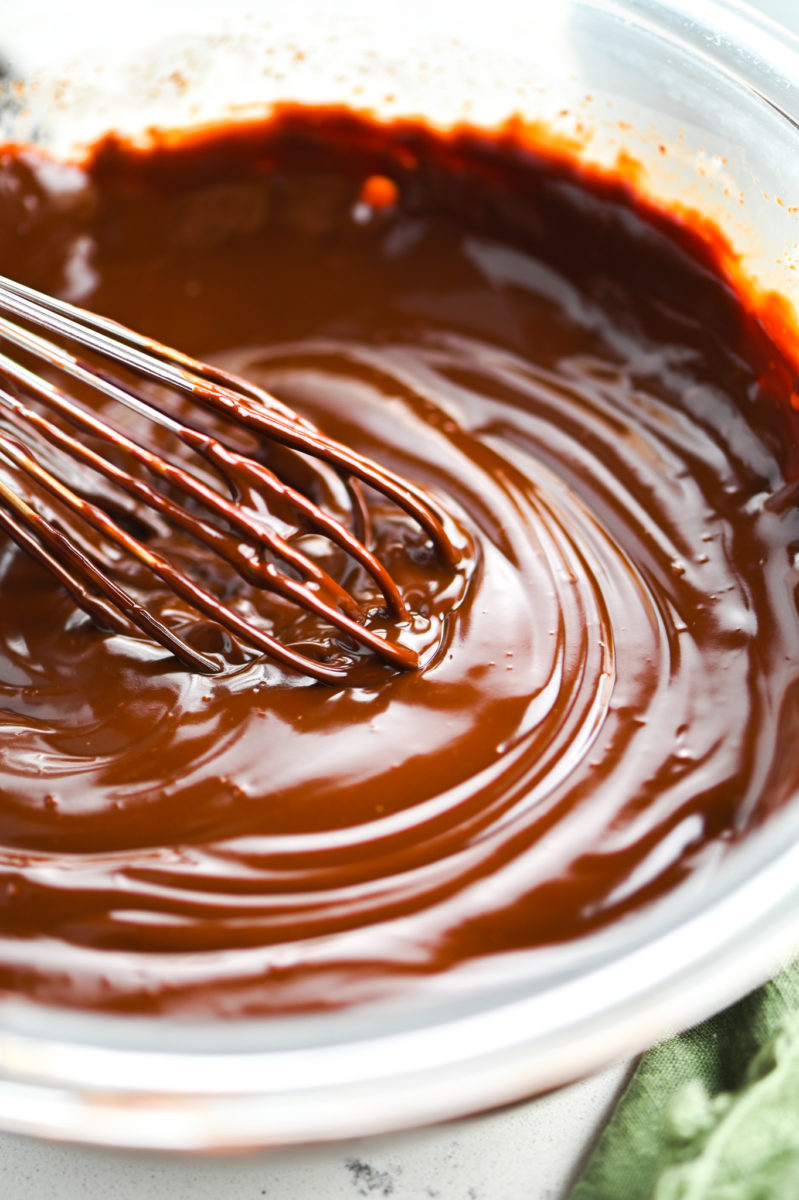
Make ganache. 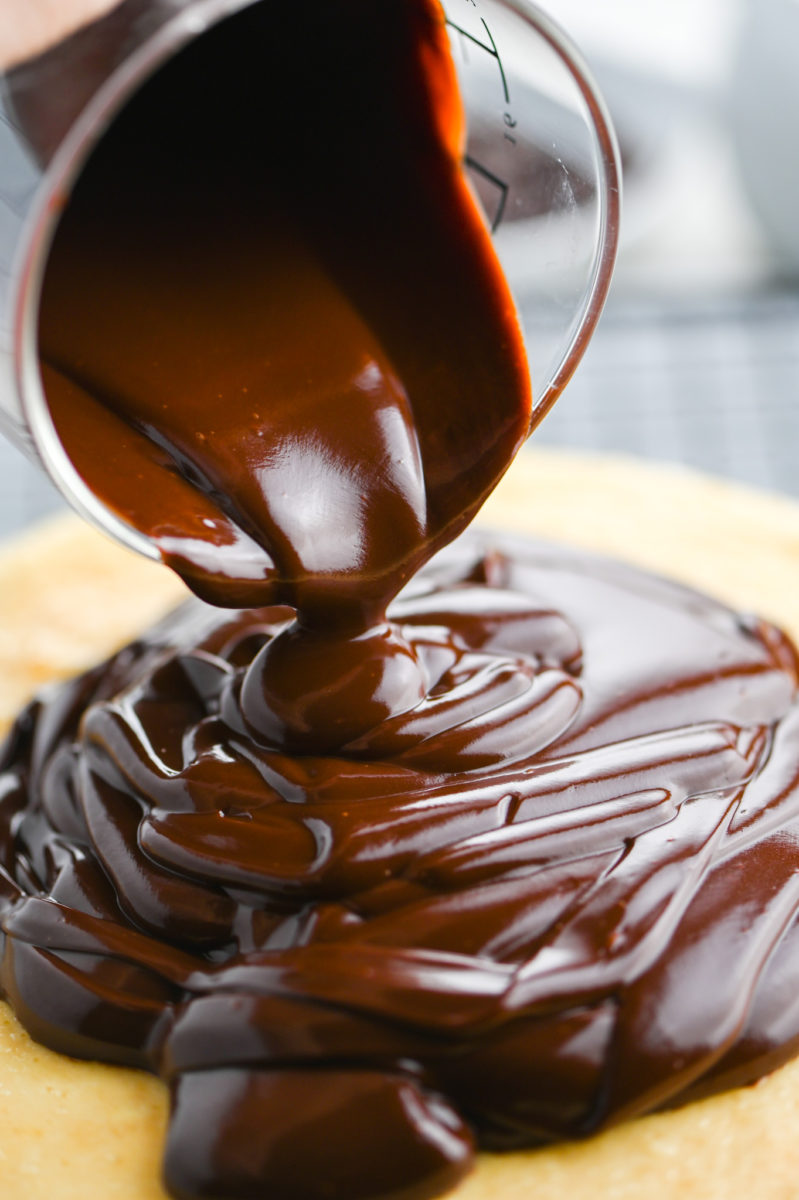
Pour ganache over cheesecake.
STEP #1: Preheat the oven to 350 degrees. Place a 9″ springform pan in the middle of two large pieces of heavy duty aluminum foil. Bring the foil up the sides of the pan and crimp the pieces together around the pan. This will help to keep water out during the cooking process.
STEP #2: Make the crust. Combine the Oreo crumbs and melted butter together in a bowl until the cookie crumbs are moistened. Press into the prepared springform pan. Bake for 10 minutes. Remove from oven and allow to cool while you’re preparing the cheesecake batter.
STEP #3: Using a hand mixer (or a stand mixer fitted with a paddle attachment) Beat together the cream cheese and sugar until smooth. Add the eggs one at a time and make sure to scrape the sides of the bowl down after each egg. The whole point is you want the cheesecake smooth without lumps so these steps will help. Beat in the Baileys, heavy cream, sour cream and vanilla extract. Continue beating on medium speed until smooth and silky. Pour mixture over cooled crust.
STEP #4: Bring a large pot of water (or a kettle) to boil. Place the cheesecake in a roasting pan. Place the roasting pan in the oven and pour boiling water into the roasting pan and quickly close the door. Bake for 45 – 55 minutes or until the cheesecake is set. The middle will still be jiggly. Turn the oven off but leave the cheesecake in the oven. This will allow it to cool slowly and help prevent any cracks. It will also continue to cook during this time.
STEP #5: Remove the cheesecake from the oven and then carefully remove the aluminum foil. Some water may have worked its way in so be careful when removing. Use a butter knife to gently loosen the sides of the cheesecake from the pan, this will help the cheesecake from cracking as it cools. Allow to cool to room temperature. Once at room temperature, chill the cheesecake overnight in the refrigerator.
STEP #6: The next day make the ganache. Heat heavy cream and chocolate chips in the microwave for 1 minute. Remove it from the microwave and allow it to set for two minutes. The chocolate will start to melt during this time. After two minutes stir the mixture together until it becomes smooth.
STEP #7: Pour the ganache over the top of the cheesecake, smoothing as you go. Chill the cheesecake for 1 more hour so that that ganache can set. Slice and serve.
Storage and Leftovers:
Cheesecake must be stored in the refrigerator. It can be stored for 3 – 5 days.
Recipe FAQ
A water bath helps prevent the cheesecake from cracking as well as help with the texture. If you don’t use a water bath, the texture could be a bit rubbery.
No you don’t need to! It will help the cheesecake rise a bit better if it’s ungreased.
Yes! This is VERY important. If the cream cheese is at room temperature it will blend easier so that the batter won’t be lumpy. Lumps will not bake out of the cheesecake so if your batter is lumpy, then finished cake will be too.
Note: this recipe was originally posted in 2013. It was updated with new photos, step by step photos, nutrition information and recipe FAQ in 2023.
Bailey's Cheesecake with Chocolate Ganache
Ingredients
Oreo Crust Ingredients:
- 2 cups Oreo cookie crumbs about 22 cookies
- 5 tablespoons unsalted butter melted
Baileys Cheesecake Ingredients
- 24 ounces cream cheese, softened
- 1 cup granulated sugar
- 3 eggs
- 1/2 cup Baileys Irish Cream
- 1/2 cup heavy cream
- 1/2 cup sour cream
- 1 teaspoon vanilla extract
Chocolate Ganache
- 10 ounces bittersweet chocolate chips
- 1 cup heavy cream
Instructions
- Preheat oven to 350 degrees. Begin to bring a large pot of water to boil. Place the spring form pan in the middle of two large pieces of heavy duty aluminum foil. Bring the foil up the sides of the pan. Crimp the pieces together around the pan. Make sure it is tight and secure so no water gets in during the baking process.
- Combine cookie crumbs and butter together in a bowl. Press into the bottom of the prepared spring form pan. Bake for 10 minutes. Remove from oven and cool.
- While the crust is cooling, beat cream cheese and sugar together in the bowl of a stand mixer. Beat in the eggs one at a time, being sure to scrape down the sides after adding each egg. Beat in the Baileys, heavy cream, sour cream and vanilla extract. Continue beating on medium speed until smooth and silky. Pour over cooled crust.
- Place cheesecake into a roasting pan. Place in the oven and pour the boiling water into the roasting pan, quickly close the door. Bake for 45 - 55 minutes or until the cheesecake is set. The middle will still be jiggly. Turn off oven, keep oven door closed and allow cheesecake to cool 1 hour in oven. It will finish cooking during this time.
- Remove cheesecake from oven, carefully remove it from the water bath. Remove the aluminum foil, being careful of any water that may have worked its way in. Allow to cool to room temperature on the counter.
- Chill cheesecake in the refrigerator overnight.
- The next day, use a knife to gently loosen the cheesecake. Remove the sides of the pan.
- Heat cream and chocolate chips in the microwave for 1 minute. Remove from microwave and allow to set for 2 minutes. Stir until it starts to come together into a smooth chocolate mixture.
- Begin pouring the ganache over the cheesecake. Smoothing as necessary.
- Chill the cheesecake for another hour. Slice and serve.

Ginger M
November 22, 2024 at 10:02 pmThis recipe is excellent. You will get consistent good results if you do the time taking little steps explained in the details. We make this cheesecake every winter. If you would like to make this GLUTEN FREE use this recipe for the crust;
1-1/2c ground toasted hazelnuts
1/2 c sugar
5T melted butter
3T cocoa
BE SURE THE CREAM CHEESE IS VERY SOFT LIKE ROOM TEMPERATURE TO AVOID WHITE LUMPS .
Deseree
November 24, 2024 at 10:10 amThank you so much for helping out those that need to make this gluten free! I am glad you love this recipe :)
Monica
May 2, 2021 at 11:23 pmDefinitely 5 STARS! The water bath made me very nervous, but it was all for naught as it all turned out well.
Deseree
May 4, 2021 at 3:48 pmYay! I am so happy to hear that! I always thought the water bath made baking a cheesecake intimidating too but once I started doing it, it became my go-to method. :)
William
February 26, 2019 at 9:19 amSt. Patrick was neither a woman or a hamburger! It is “St. Paddy’s Day”
Michelle
October 16, 2018 at 9:22 amI’m super excited to make this! I’m thinking about making 4 inch mini versions of this. I wonder how long I should bake it for?
Michelle
October 30, 2018 at 5:20 amUpdate: So I’ve made 4 inch mini versions of this. 1st off the cheesecake is amazing!!! Super rich make sure you have a stout on hand to wash this down.
For the 4 inch mini versions I cooked the cakes at 275 for 40-45 minutes. Left them in the oven for an hour with the oven off. Refrigerated over night. I also increased the Baileys to just under a cup, it melds with the Jameson better.
Cheers folks.
Donna Miklojcik
December 31, 2017 at 1:23 pmI have made this recipe twice now because it sounded so good. Both times it just didn’t work well. I make cheesecakes a lot. This was heavy, almost gummy, didn’t rise well, and was too sweet. I think you should take another look at the recipe.
Deseree
January 1, 2018 at 12:32 pmThanks for your feedback Donna! I am sorry to hear that this didn’t work out well for you. I have made flavor variations of this recipe several times and it always works so well for me. I’ll take a look at this one and see what might be causing the issue your experiencing.
Ashley
December 4, 2017 at 11:45 amGreetings Ambrosia! I’m planning on trying this for Christmas. Sounds delicious, but was wondering if I could use Andes peppermint chocolates instead of the bittersweet chocolate chips?
Nella
May 6, 2015 at 12:39 pmDear Des, this sounds amazing. I would love to try this tomorrow. Could you please let me know how much cream cheese I need? As in The Netherlands we do not use Oz. Do I need 3 packages of 8 Oz each? I have converted 8 Oz to approximate 225grams. Does this mean 675 grams? Looking forward to hearing from you to try this yummy cheese cake. Thanks in advance.
Des @ Life's Ambrosia
May 7, 2015 at 8:09 pmYes, that is correct Nella! You would need approximately 226 grams of cream cheese. I hope you enjoy this cheesecake! :)
Nella
May 9, 2015 at 10:23 amThank you! I’m gonna try this. Can’t wait to try it.
Maggy
July 22, 2015 at 9:16 pmOut of curiosity can the baileys be substituted. I’ve made it with it and it’s amazing but I would like to make it for a party that will have kids there and I don’t think the 3/4 of a cup will be an issue but I am worried about someone asking about it and having an issue?
Linlal
April 13, 2017 at 4:09 pmThe alcohol cooks off in the oven leaving the flavour. No children will be harmed by the Bailey’s!
Linlal
April 13, 2017 at 4:09 pmWRONG!!
1 ounce is 28 grams; 8 ounces is 227 grams and 24 ounces, i.e. 3 X 8, is 680 grams approximately so the 3 8-oz packages of cream cheese called for in the recipe are the equivalent of about 680 grams.
It would be a pretty sad cake with only 1 package of cream cheese. If you ate it anyway, the higher concentration of booze might have made up for it so as nobody would notice except that the alcohol will evaporate while it’s cooking.
Des @ Life's Ambrosia
April 13, 2017 at 5:01 pmI appreciate your response Linlal. You will notice that she did ask if 675 grams was correct and I said yes. The “you would need approximately 226 grams of cream cheese” was a typo.
Linlal
April 13, 2017 at 4:14 pmThe response you got from Life’s Ambrosia is incorrect. You were right that 3 packages at 8 ounces is 675-680 grams. Sorry this is two years late and you’ve probably tried to follow her conversion :-(
Chelsea
March 11, 2015 at 10:01 amHi, should I grease the pan? And when you poured the ganache over the cheesecake did you keep the sides of the pan attached? Thanks!
John M
March 25, 2015 at 11:59 amI placed parchment on the bottom. I didn’t grease it. Came out fine.
david
February 5, 2015 at 7:37 amthis looks terrific. I must try it. Thank you!
nellie
June 24, 2014 at 11:07 amCould I use a ready made cookie crust? Or will the cheesecake get too high? Thanks!
Deseree
June 25, 2014 at 9:56 pmNellie- this needs to be made in a springform pan, if you can put the pre-made crust in a springform pan, I think it would work.
irishabroad
March 13, 2014 at 7:30 amFFS its not st PATTYs day. Paddy is short for patrick. st patrick. PADDYs day.
sara
June 11, 2014 at 11:24 pmChillax! It’s just cheesecake.
Kim
March 10, 2014 at 1:06 pmThis sounds amazing!!! What size spring form pan did you use?
Deseree
March 12, 2014 at 5:55 pmKim- thank you! 9 inch :)
Deseree
March 12, 2014 at 6:02 pmKim-thank you! 9 inch :)
Cheryl Baumann
June 21, 2013 at 6:02 amI made this for St. Patrick’s Day, and now I am requested for Birthdays, and every possible combination of “special occasion” you can name! While definitely not for the faint of heart, I don’t remember when I’ve had something so decadent and wonderful! Thank you so much for sharing this recipe!
Heidi
March 14, 2013 at 6:45 amIs it normal to drool when reading recipes? I’m spending time with friends tomorrow night, I think I should bring this. Wow
Monica Kazda
March 13, 2013 at 4:00 pmThis looks really really yummy!
Cookin Canuck
March 13, 2013 at 9:20 amOh my, does this ever look good! I make Bailey’s brownies for St. Paddy’s Day and they are always a hit.