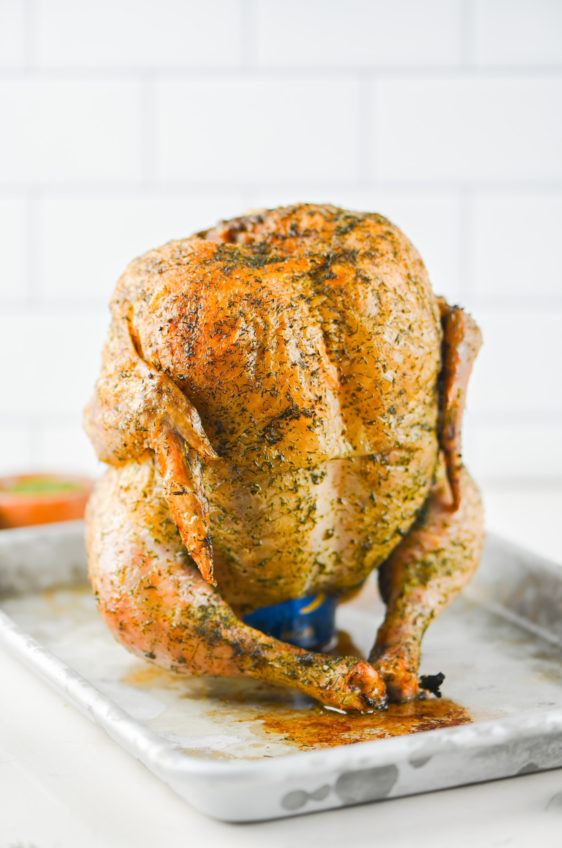
Dill Beer Can Chicken
Beer Can Chicken is a great way to cook a whole chicken. Perfectly tender and juicy on the inside with golden brown, crispy skin.
Maybe you have been wanting to make Beer Can chicken for a long time now. Perhaps you always hear how wonderful it is. How moist the meat is. How crispy the skin is, but haven’t given it a try yourself yet. Well now here is your chance because, beer can chicken just as good as you’ve always heard it was.
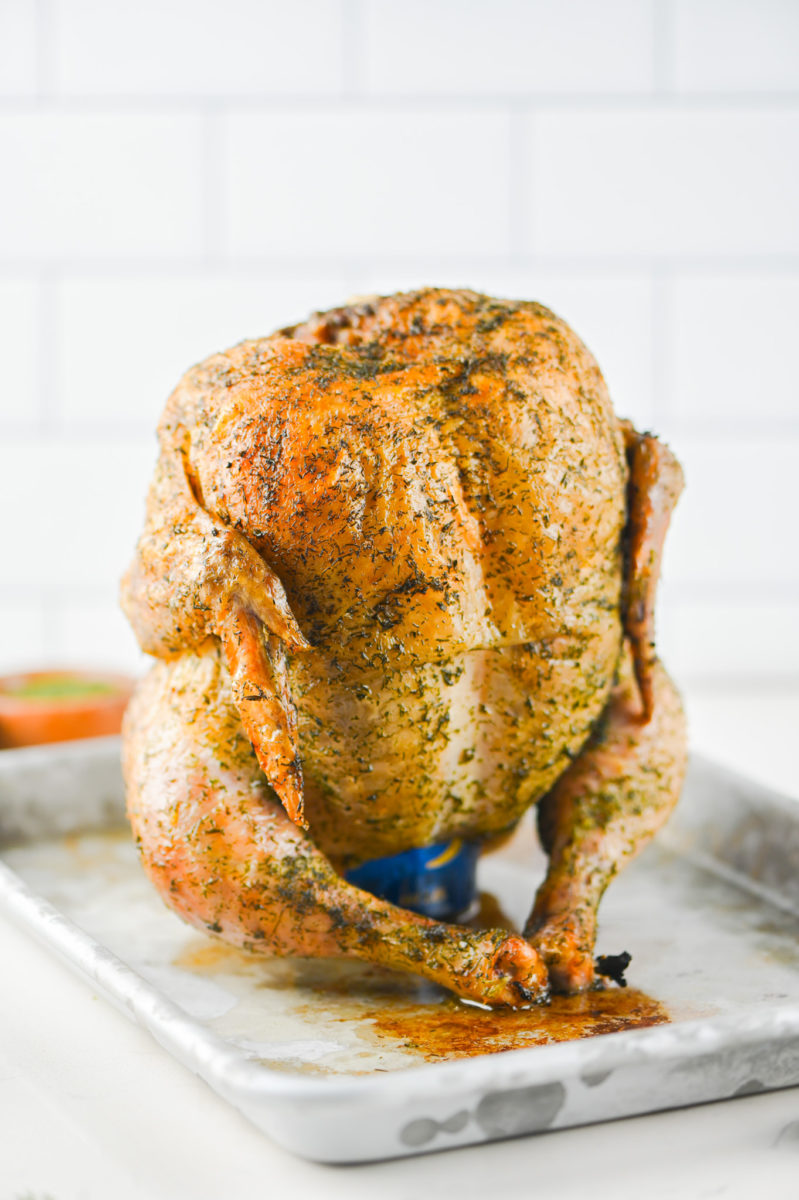
On the other hand, if you’ve never heard about beer can chicken, then let me enlighten you. This might be your new favorite way to cook chicken. It’s easy, only requires a handful of ingredients and delivers some of the juiciest chicken you’ve ever had.
Let’s talk about what you’ll need to make it:
Beer Can Chicken Ingredients:
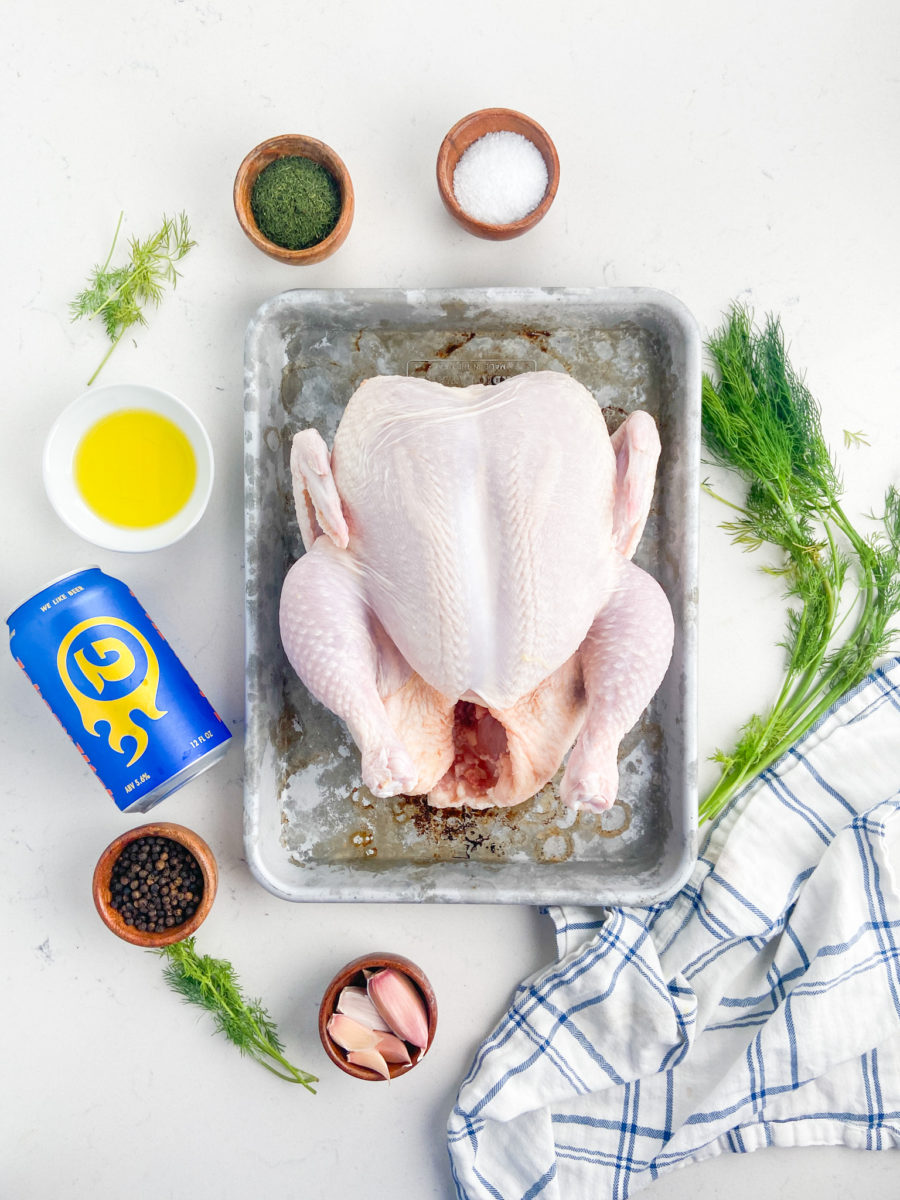
- CHICKEN: You’ll need a whole chicken for this recipe. Be sure that you’ve removed the giblet bag from inside. Also be sure to pat dry the chicken, this will help the skin crisp while it’s cooking.
- BEER: You can use whatever kind of beer that you like. I prefer to use a lager or pilsner when I make beer can chicken.
- FRESH DILL: Just like you stuff the cavity of the chicken when you’re making Oven Roasted Chicken, adding dill to the beer can adds flavor while this chicken is cooking.
- GARLIC: As with the dill, this will add flavor as it cooks.
- OLIVE OIL: Will help the skin brown.
- DRIED DILL/SALT/PEPPER: This will be the seasoning blend that you use to season the outside of the chicken. It helps make the skin super flavorful!
Step by Step Photos and Instructions:
Making beer can chicken is actually really easy! You season the chicken, place a 1/2 full can of beer in the cavity and cook the chicken on indirect heat on the grill. The beer and the grill to the hard part for you!
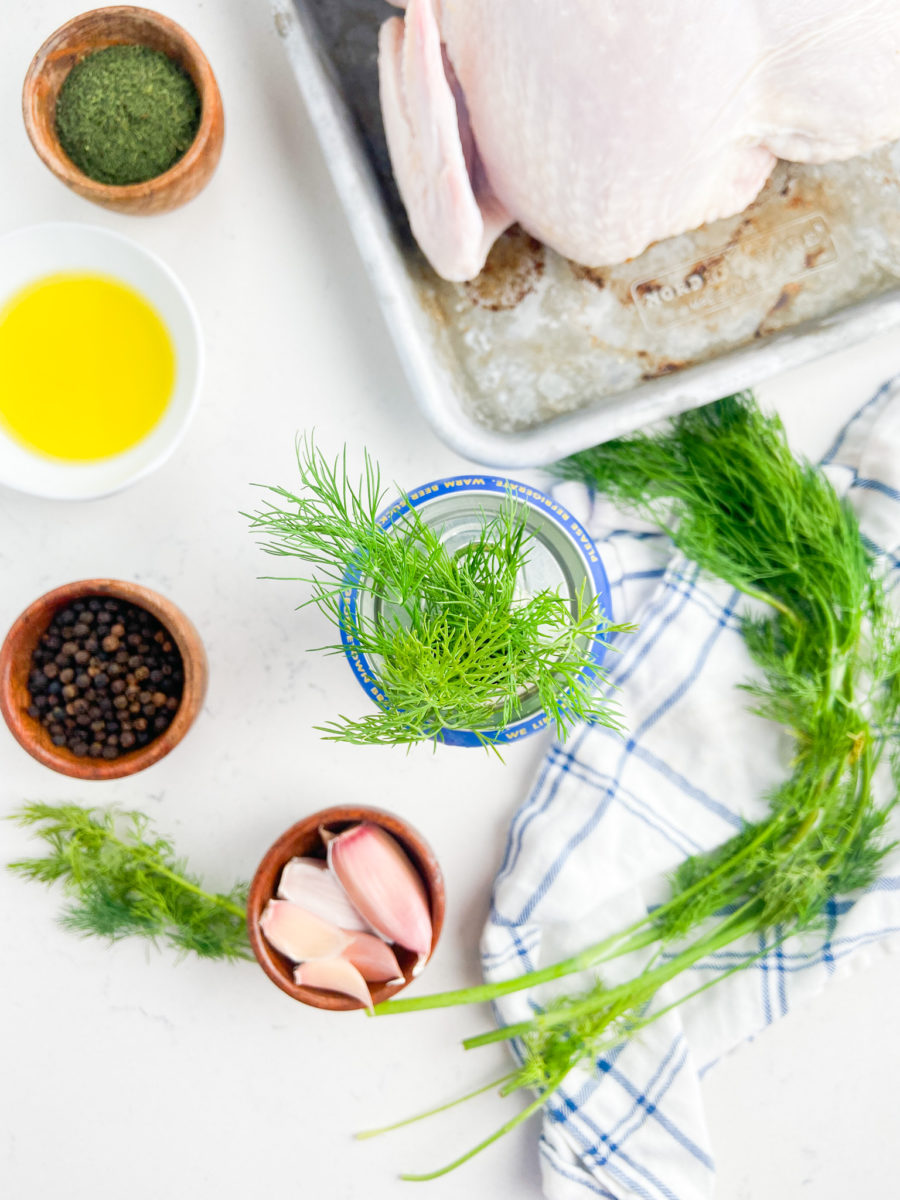
Remove 1/2 of beer (drink or pour out) and place garlic cloves and dill sprigs in can. 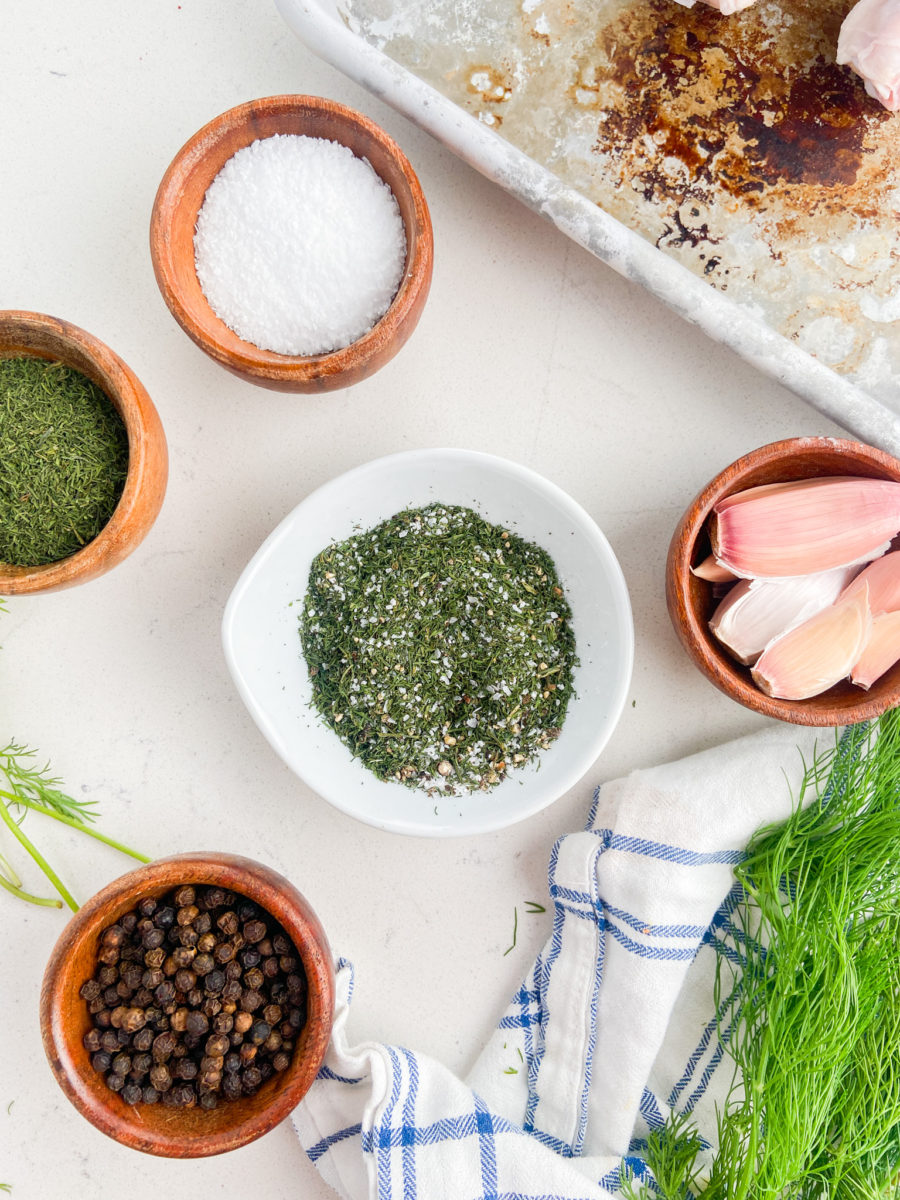
Mix together dried dill, salt and pepper. 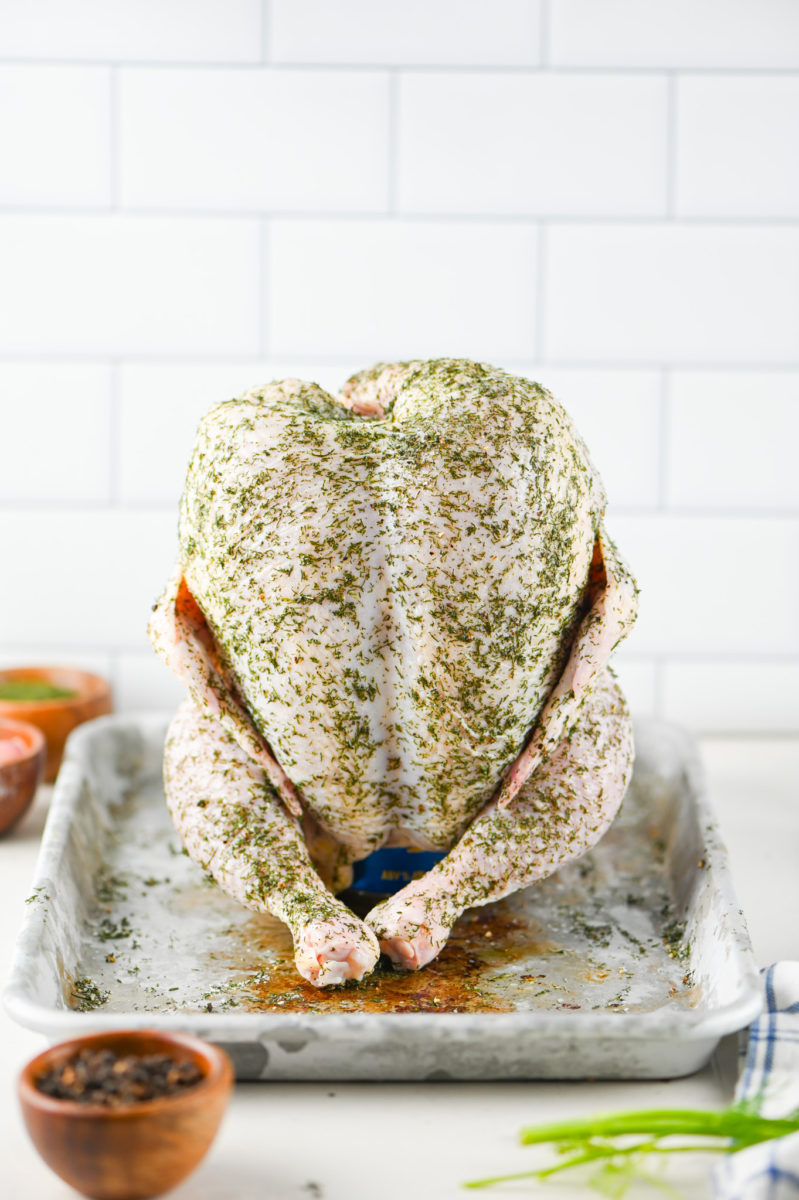
Set chicken on top of beer can. Brush with olive oil and season with seasoning blend. 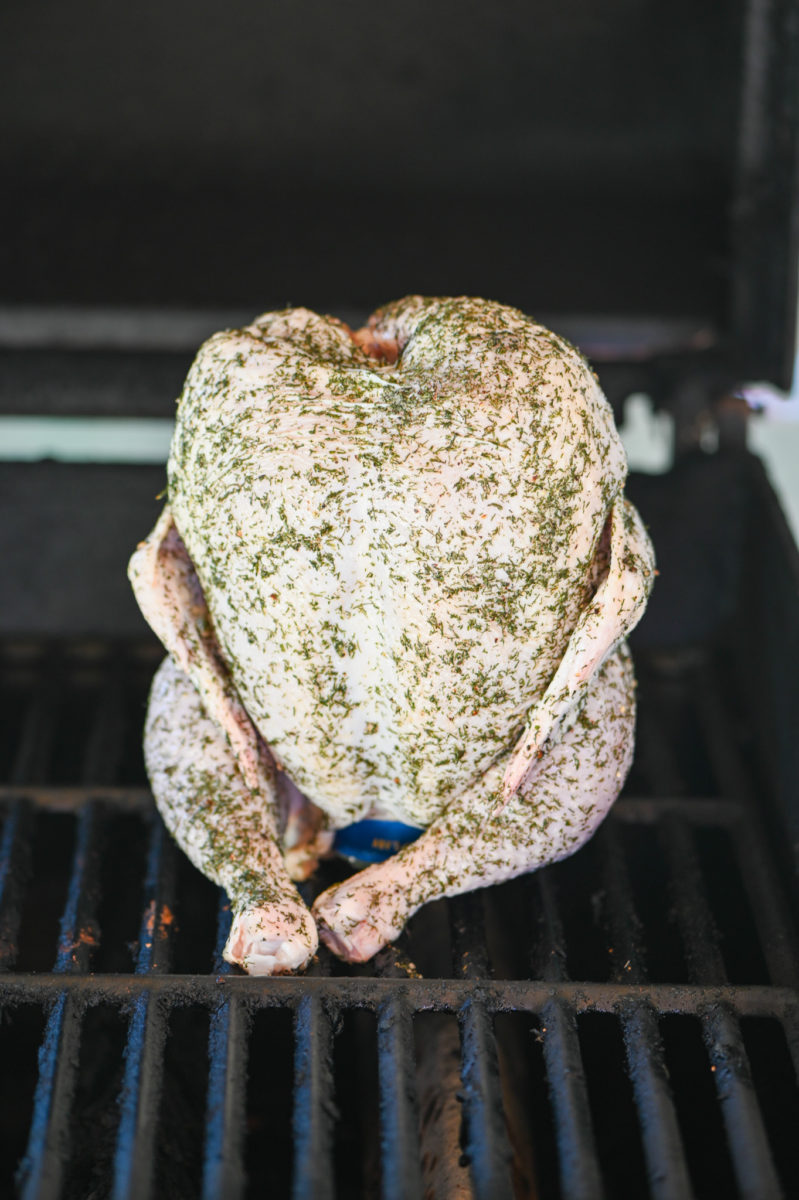
Cook chicken over indirect heat until registers 165 degrees on meat thermometer.
- STEP #1: Dump out (or drink!) half of a 12 ounce beer. Add dill sprigs and garlic cloves to the can.
- STEP #2: Place the beer can inside the chicken cavity. You want the bottom to stick out so that the chicken can stand up. Kind of like a tripod.
- STEP #3: Mix dill, salt and pepper together in a bowl. Brush the chicken with olive oil. Season the chicken all over with the seasoning mixture.
- STEP #4: Preheat a grill for indirect heat. Place chicken on the side of the grill that is not on. Cover. Adjust the heat if necessary but the chicken should cook at 350 degrees for about 1 1/2 hours. Cook until a meat thermometer inserted in the thigh registers 165 degrees.
- STEP #5: Allow chicken to rest for at least 10 minutes before carving.
Storage and Leftovers:
Store any leftovers covered in the refrigerator and use within 3 – 5 days. Can be reheated but would also be great shredded and turned into this Dill Chicken Salad.
Recipe FAQ:
Indirect cooking is a grilling technique where whatever you are grilling is not directly over the flame. Instead the food cooks via the hot air circulating around the food.
Light beers such as Bud Light or Coors Light are popular because their light flavor won’t overpower the taste of the chicken. Try to avoid overly hoppy beers like Pale ales because they can make the chicken bitter.
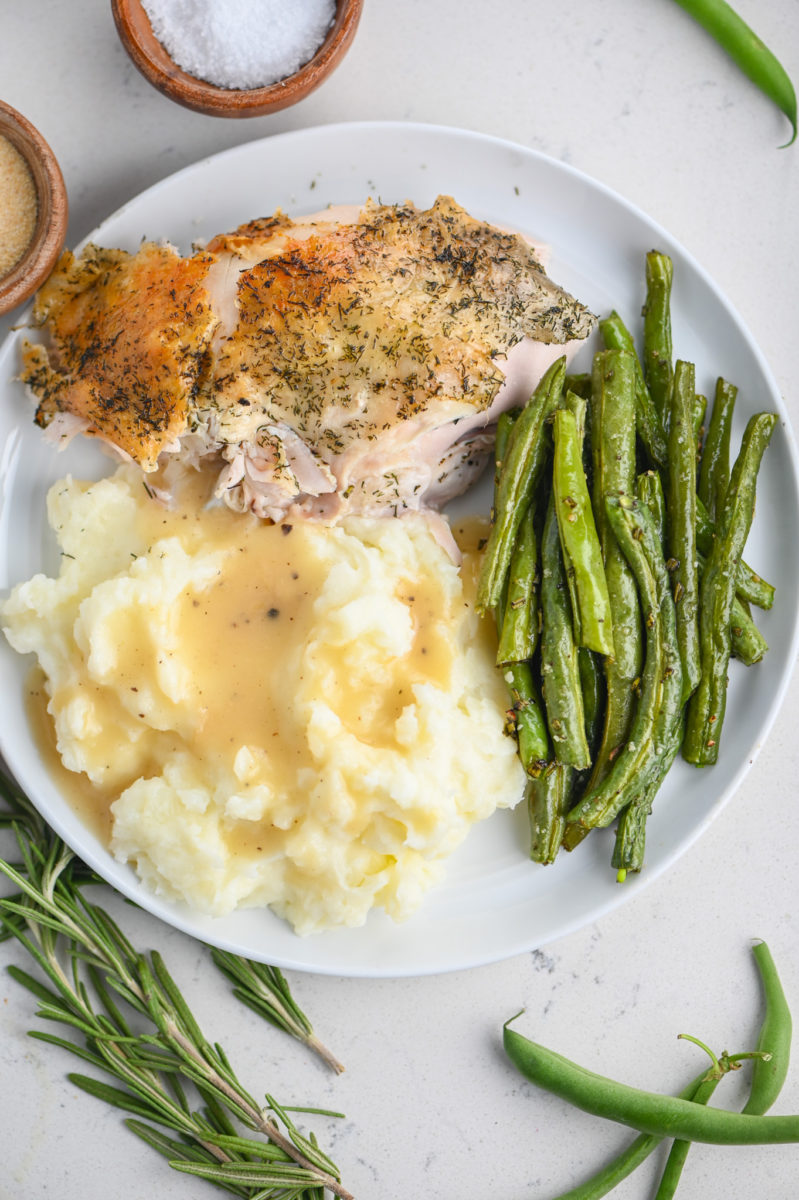
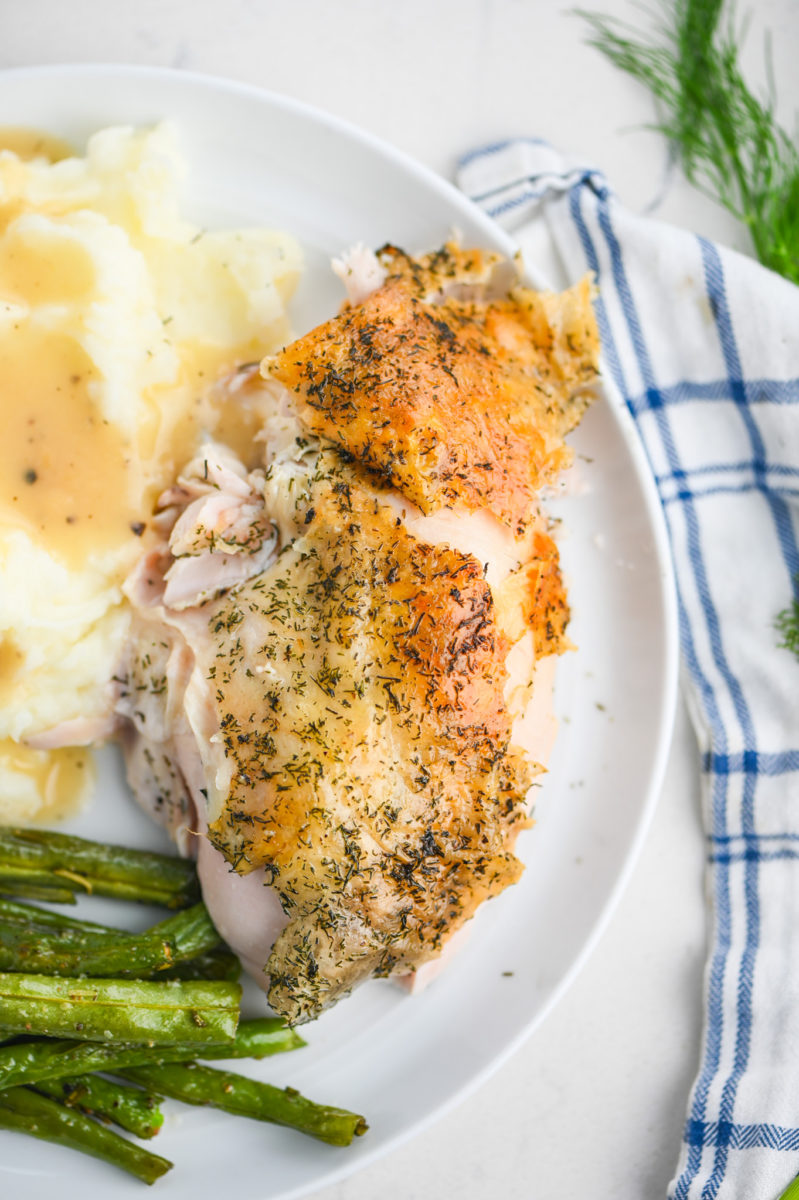
This Beer Can Chicken makes a fantastic Sunday dinner. I love serving it with Homemade Mashed Potatoes and Dill Green Beans.
Looking for more chicken recipes? Try these!
This Deep Fried Chicken Wings recipe is constantly getting rave reviews. You have to try them if you haven’t yet!
Easy Chicken Pot Pie is the perfect comfort food meal!
2 ingredient Artichoke Chicken is the easy weeknight meal you need in your life!
Note: This post was originally published in 2013. It was updated in 2023 with new photos, nutrition information and Recipe FAQ.
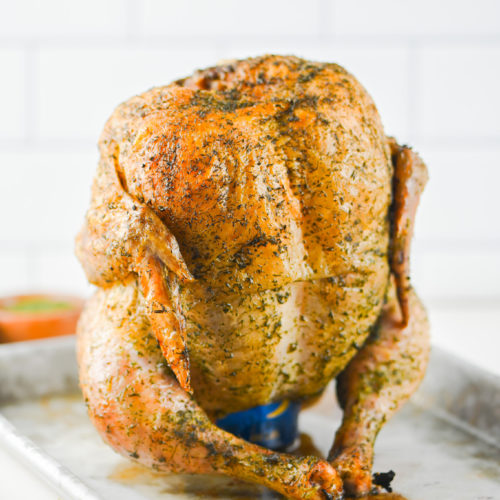
Dill Beer Can Chicken
Ingredients
Ingredients:
- 12 ounces can lager beer half empty
- 4 sprigs fresh dill
- 4 cloves garlic
- 5 lbs whole chicken gizzards removed, pat dry
- 1 tablespoon olive oil
- 1 tablespoon dried dill
- 1 teaspoon kosher salt
- 1/2 teaspoon fresh cracked pepper
Instructions
- Prepare your grill for indirect heat.
- Place the dill sprigs and garlic cloves inside the beer can. Place the beer can inside the cavity of the chicken. The bottom will stick out, this is how the chicken will be stabilized on the grill. Place the chicken upright on a plate or baking sheet to make it easier to carry to the BBQ.
- Rub the chicken all over with olive oil.
- In a bowl, combine dill, kosher salt and black pepper
- Rub the mixture all over the chicken.
- Place chicken on the part of your gill that is not on, using the beer can so it sits like a tripod. Cover. Adjust heat if necessary, the chicken should cook for 1 - 1 1/2 hours at about 350 degrees.
- After an hour, check the chicken. If the temperature in the thigh registers 165 degrees, carefully remove it from the grill. I used tongs to hold the beer can and a pot holder to stabilize the top part of the chicken. Use tongs to carefully remove the beer can and discard. Transfer the chicken to a serving platter, carve and serve.

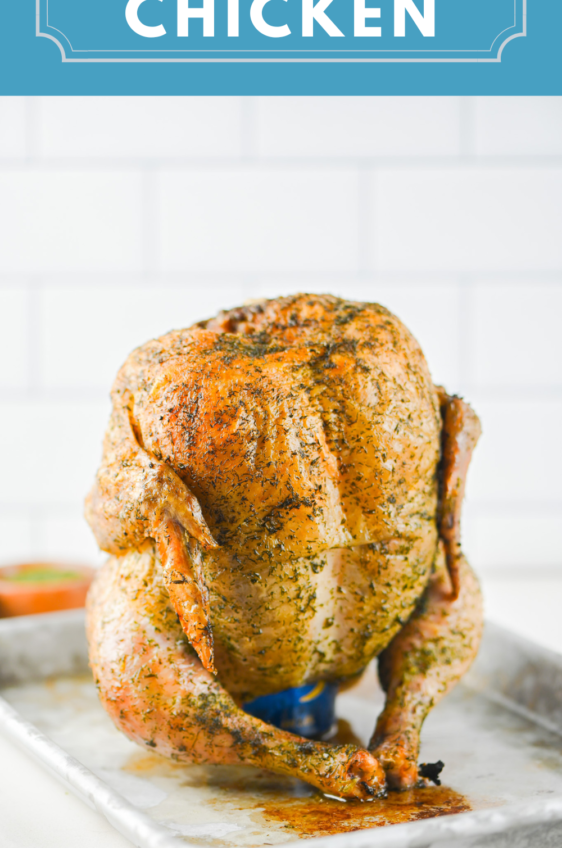
Nami | Just One Cookbook
September 6, 2013 at 1:03 pmI haven’t heard of this bear can chicken recipe before and so glad I learned about it today. The chicken looks wonderful!
Ashley - Baker by Nature
September 5, 2013 at 1:46 pmOh heck YESSSS! This is so awesome, lady!