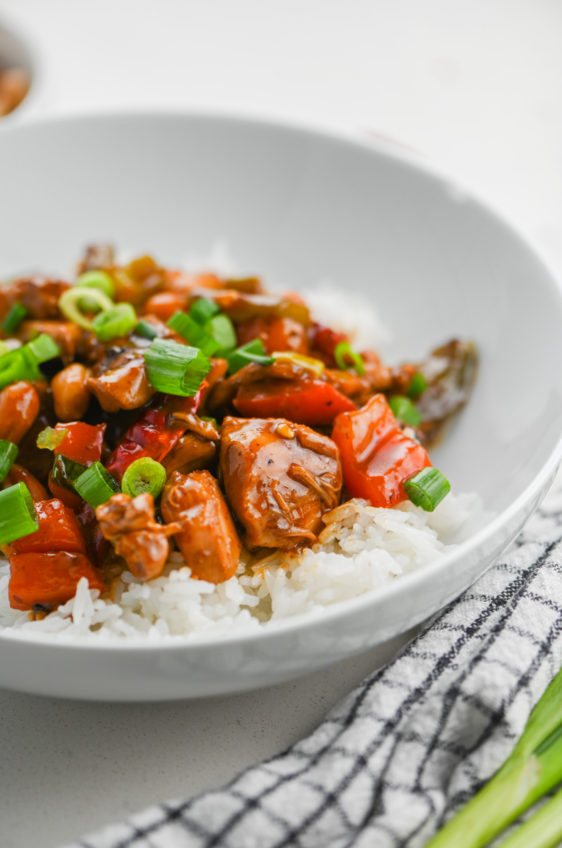
Kung Pao Chicken
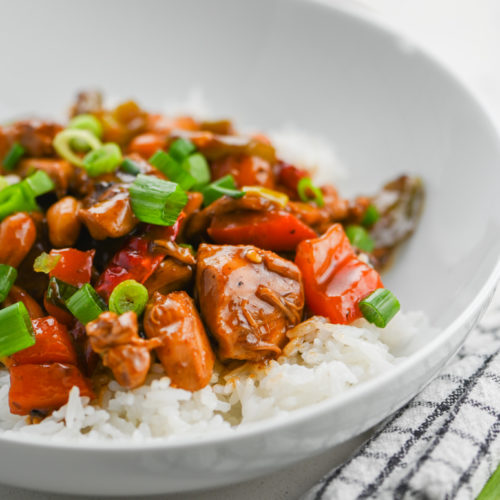
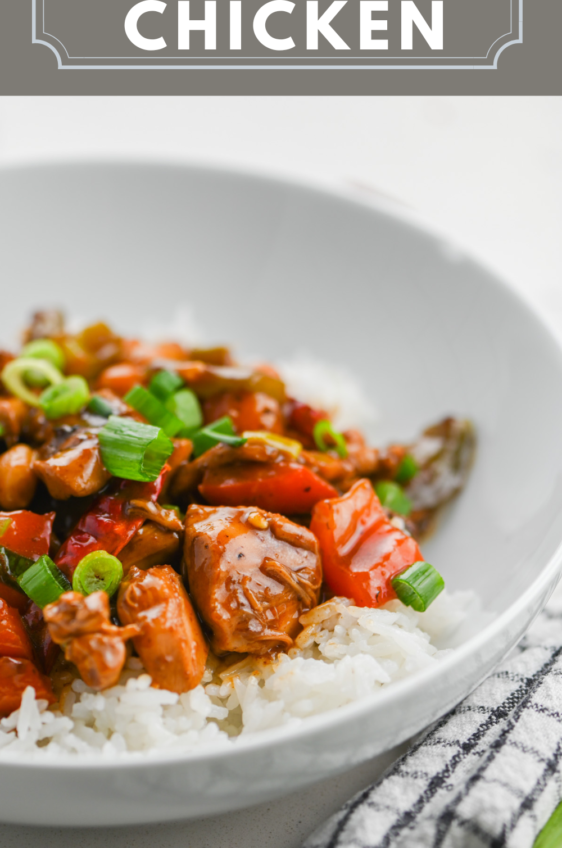
Kung Pao Chicken is a spicy stir-fried chicken and vegetable recipe. The spicy sauce is made with chili sauce, soy sauce and black vinegar.
One of my favorite things to do is to recreate dishes that we order via takeout or recreate dishes from our favorite restaurants. I’ve made the Din Tai Fung Shrimp and Pork Wontons in Spicy Sauce , Salt and Pepper Calamari and even Copycat Taco Bell Mexican Pizza.
Like I said, recreating recipes is one of my favorite things to do in the kitchen. And today, I’m sharing this Kung Pao Chicken that is one of our favorites to get when we order take out. This spicy stir fry is loaded with flavor.
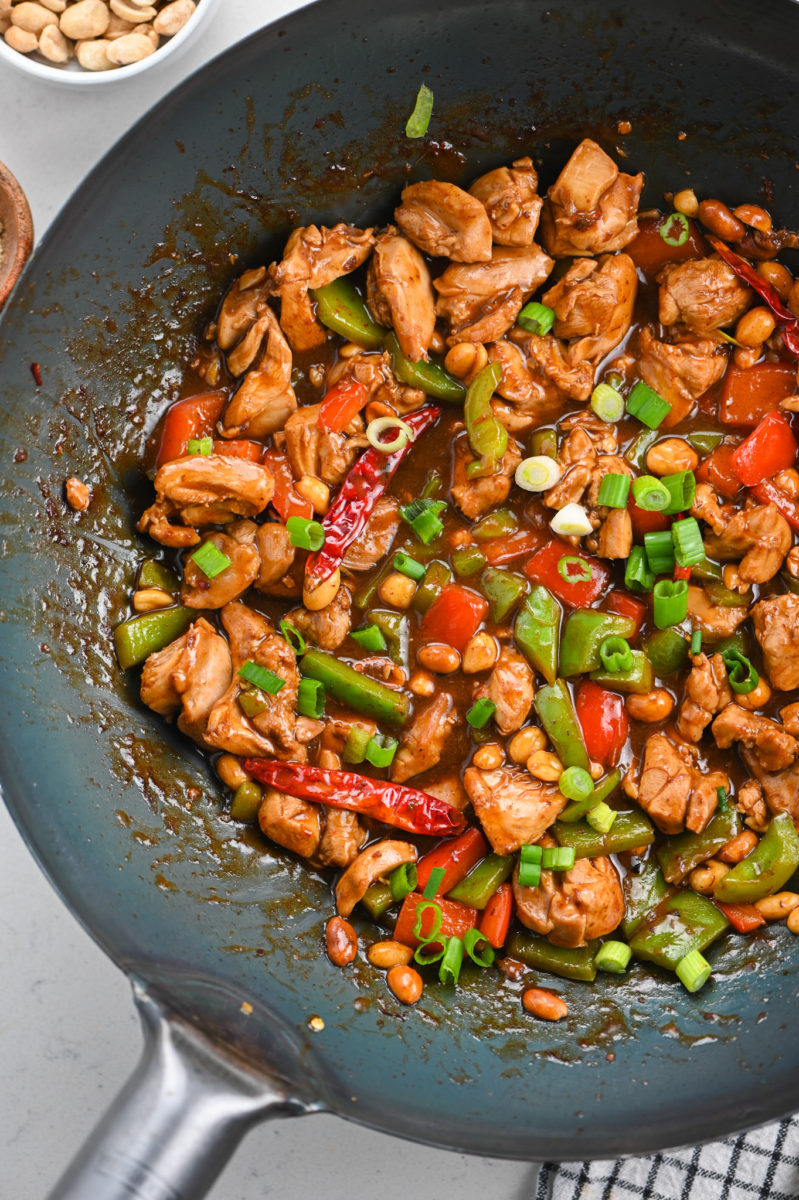
What is Kung Pao Chicken?
If you have never had Kung Pao Chicken before, it is a classic spicy Sichuan dish with peppers, chicken and peanuts. I had a hard time finding the traditional Sichuan peppercorns that are often used in this recipe but that didn’t take away from the flavor. I used chili sauce as well as dried red chilies to give it the kick it needs.
Let’s talk about all you need to make it.
Kung Pao Chicken Ingredients:
This recipe is broken up into two parts: The marinade for the chicken and then the stir fry it self. Since you’ll be doing the marinating first, we’ll go over that first.
KUNG PAO CHICKEN MARIANDE:
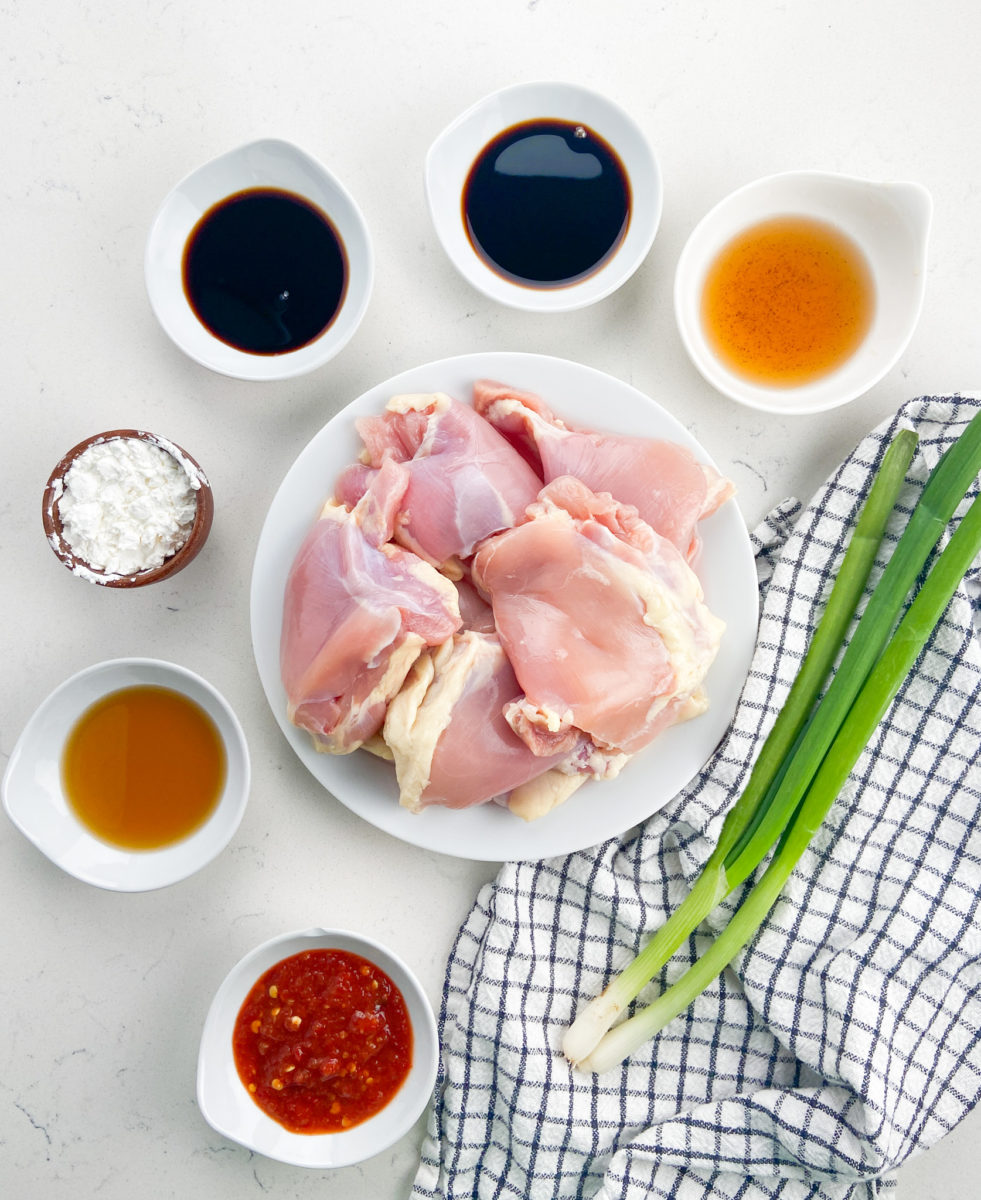
- GARLIC CHILI SAUCE: This is readily available in grocery stores in the Asian/International aisle. I use Huy Fong Garlic Chili Sauce.
- CHINESE BLACK VINEGAR: Chinese black vinegar is a full bodied vinegar with a slightly sweet flavor. It is less acidic in flavor than Distilled White Vinegar.
- SOY SAUCE: This is going to add umami, salty flavor.
- SESAME OIL: Adds a touch of nuttiness. A little goes along way. You don’t need much!
- SHAOXING WINE: A type of Chinese rice wine. If you cannot find it, the best substitute would be a dry sherry or Mirin Wine.
- CHICKEN THIGHS: Boneless skinless chicken thighs work great in this dish. They stay tender and cook quickly. You can also substitute diced boneless skinless chicken breasts but they may take a bit longer to cook.
STIR-FRY AND SAUCE INGREDIENTS:
To make the stir-fry sauce, you’re going to use several of the same ingredients that you use in the marinde.
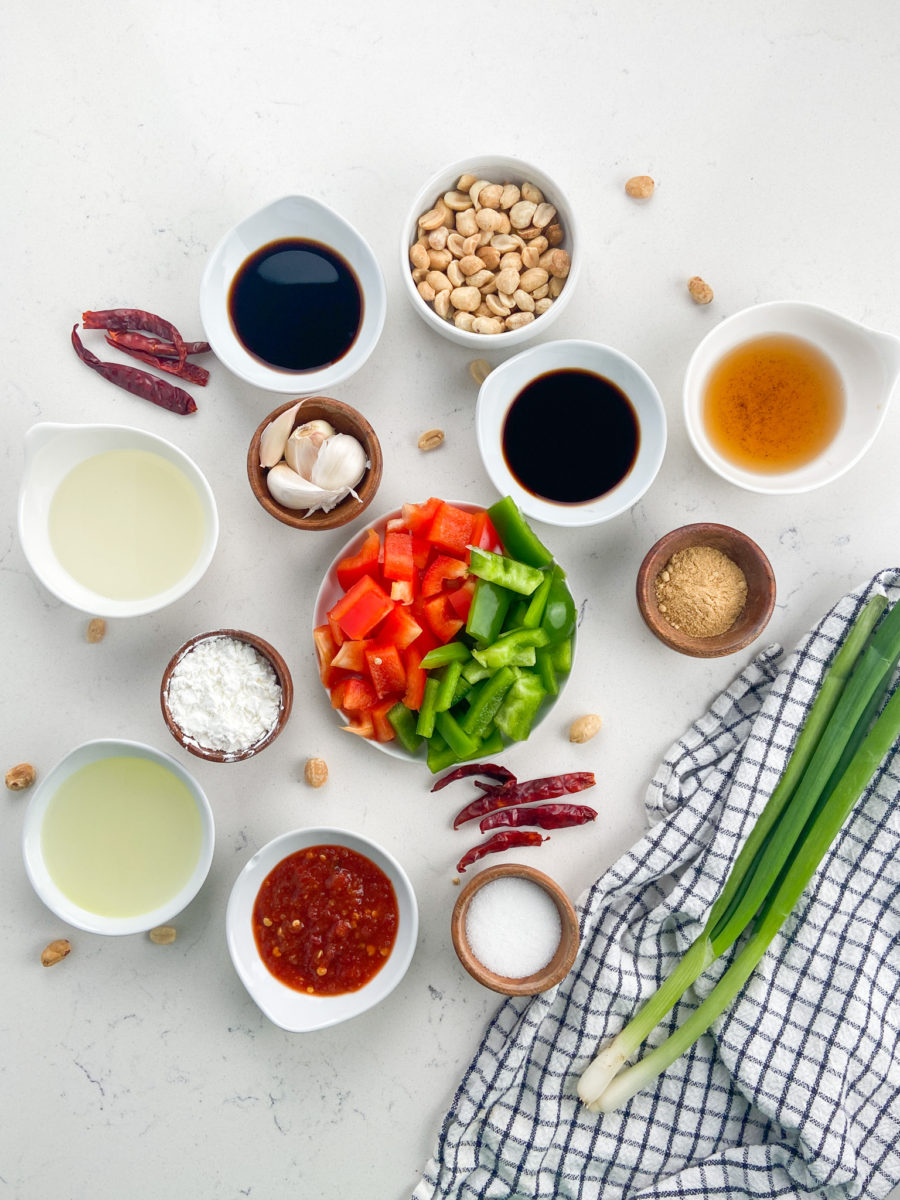
- LOW SODIUM CHICKEN BROTH: Keep in mind you’re using soy sauce in this recipe so using low-sodium chicken broth will help keep the salt content down so that you can adjust it to your tastes.
- CORNSTARCH: This will help thicken the sauce.
- SOY SAUCE
- CHINESE BLACK VINEGAR
- SHAOXING WINE
- GARLIC CHILI SAUCE
- PINCH SUGAR: To add a bit of sweetness and cut back on the acidity.
- OIL
- RED AND GREEN BELL PEPPER: I like to use a combo of the two because the color of the dish really pops.
- PEANUTS: Use unsalted peanuts, again to avoid adding any extra salt.
- 3 – 4 DRIED CHILIES: You can use dried Thai chilies but if you cannot find them Dried Chili de arbol (often found in the International Aisle of the grocery store) will also work.
- GREEN ONIONS: Add a subtle onion flavor and a pop of color to the dish.
Step by Step Photos and Instructions:
There are a lot of ingredients to Kung Pao Chicken which can make it seem a bit daunting. But don’t let the long ingredient list intimidate you, I’ll walk you through each step and provide pictures along the way.
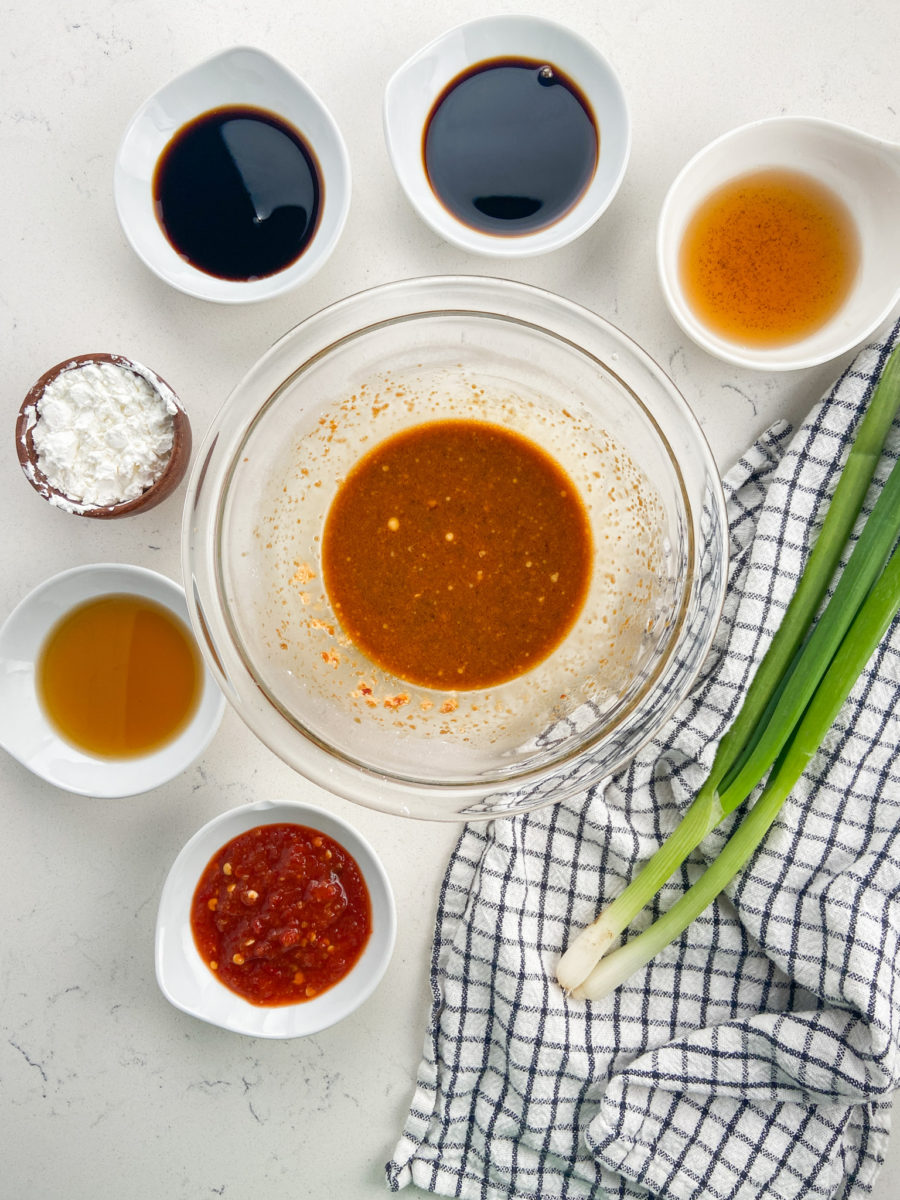
Whisk together marinade. 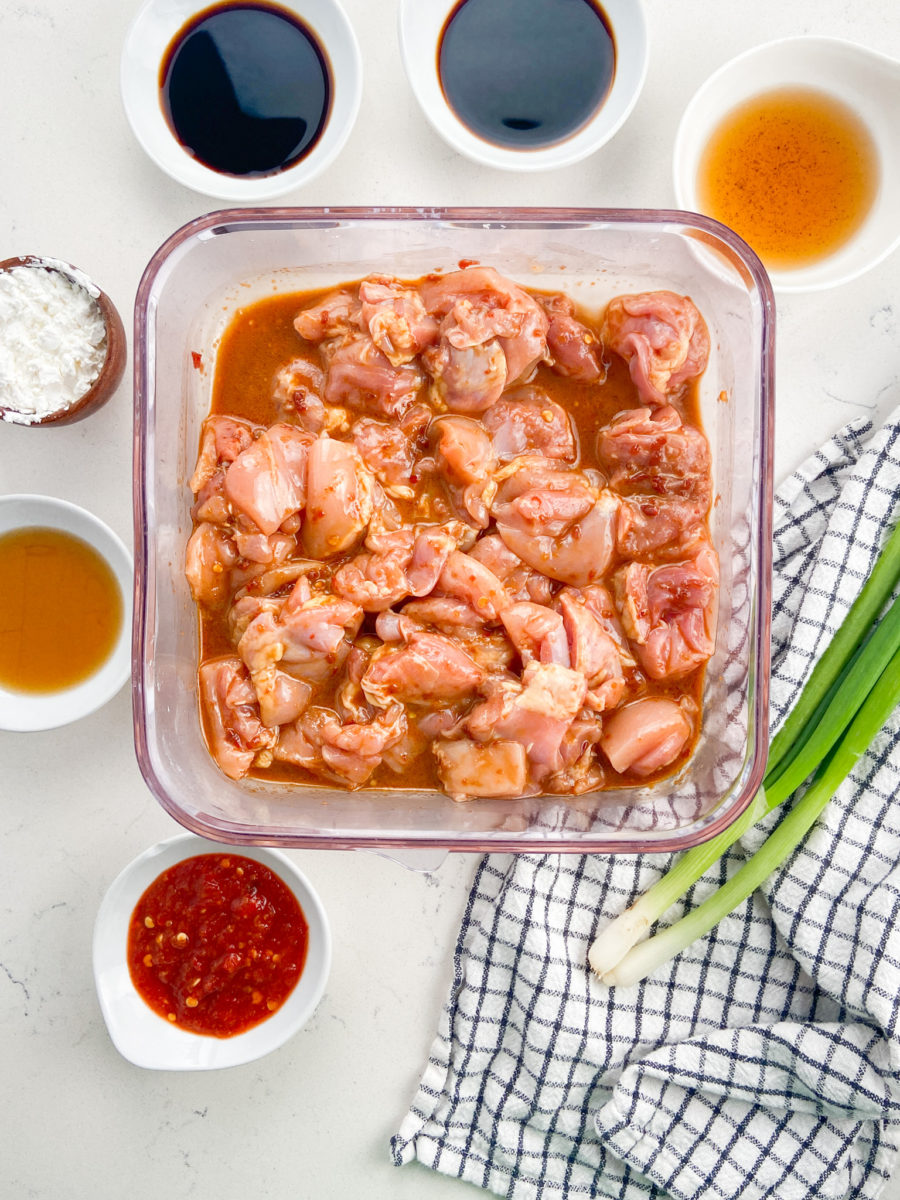
Marinate chicken. 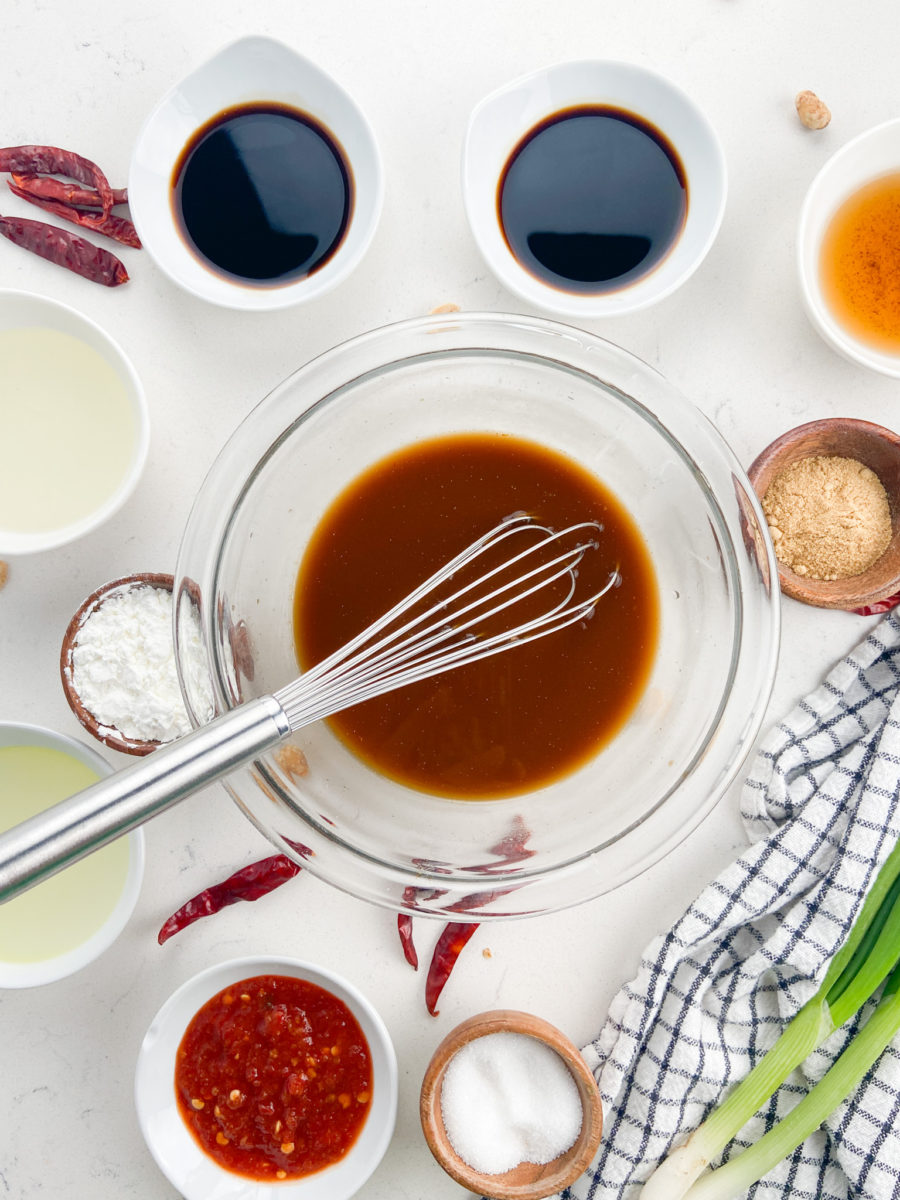
Whisk together sauce ingredients.
- STEP #1: Whisk together all of the ingredients for the marinade.
- STEP #2: Dice the chicken into bite-sized pieces. Pour marinade over the top. Cover and refrigerate for at least 1 hour.
- STEP #3: Whisk together the ingredients for the sauce.
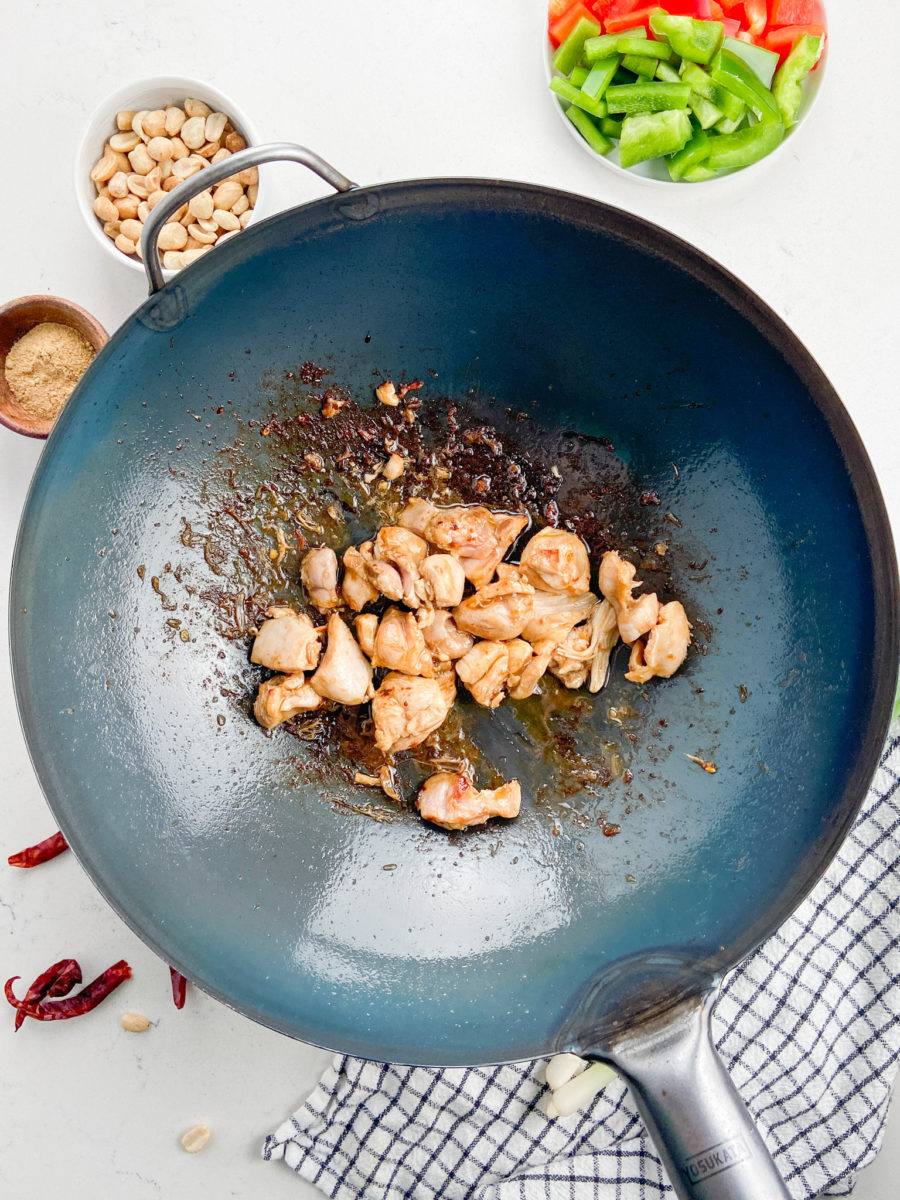
Brown chicken, in batches if necessary. 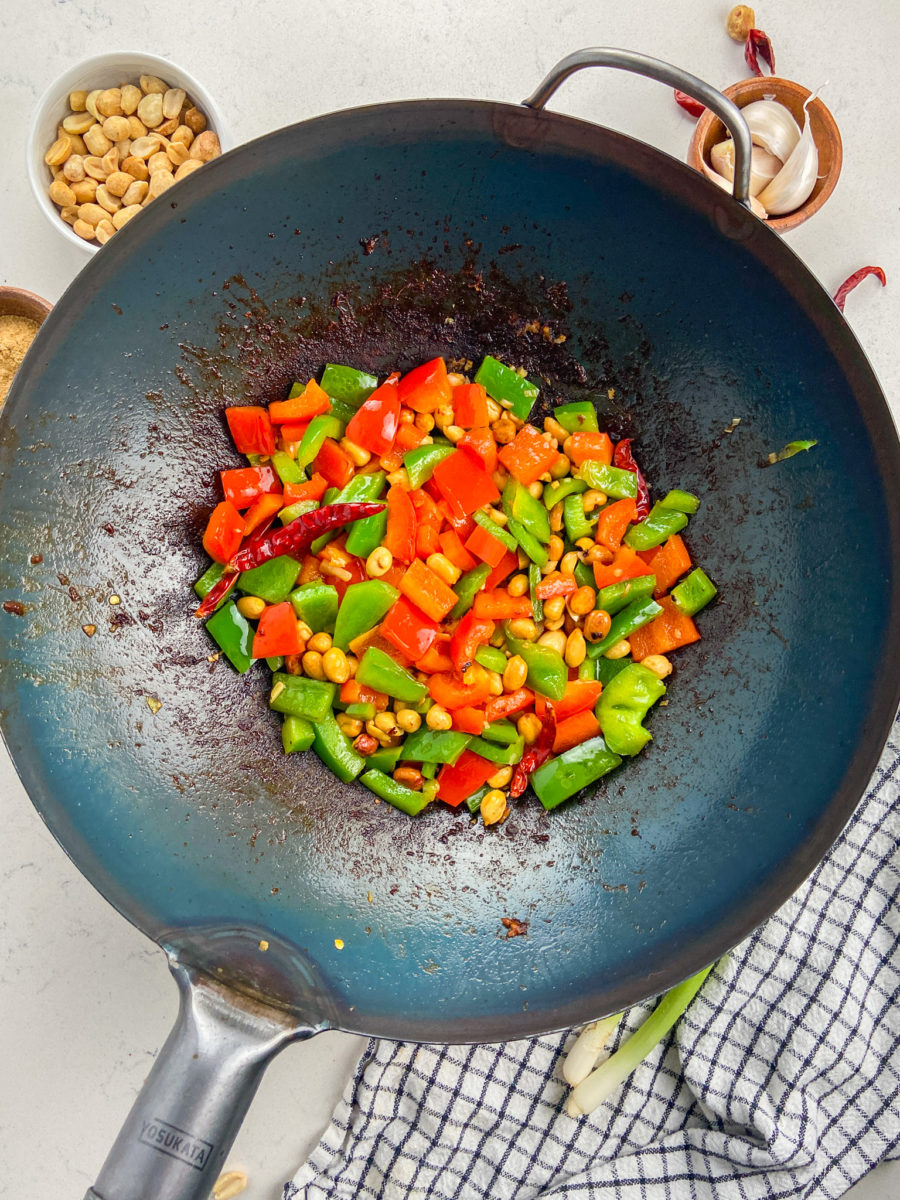
Stir fry bell peppers, peanuts and chilies in oil. 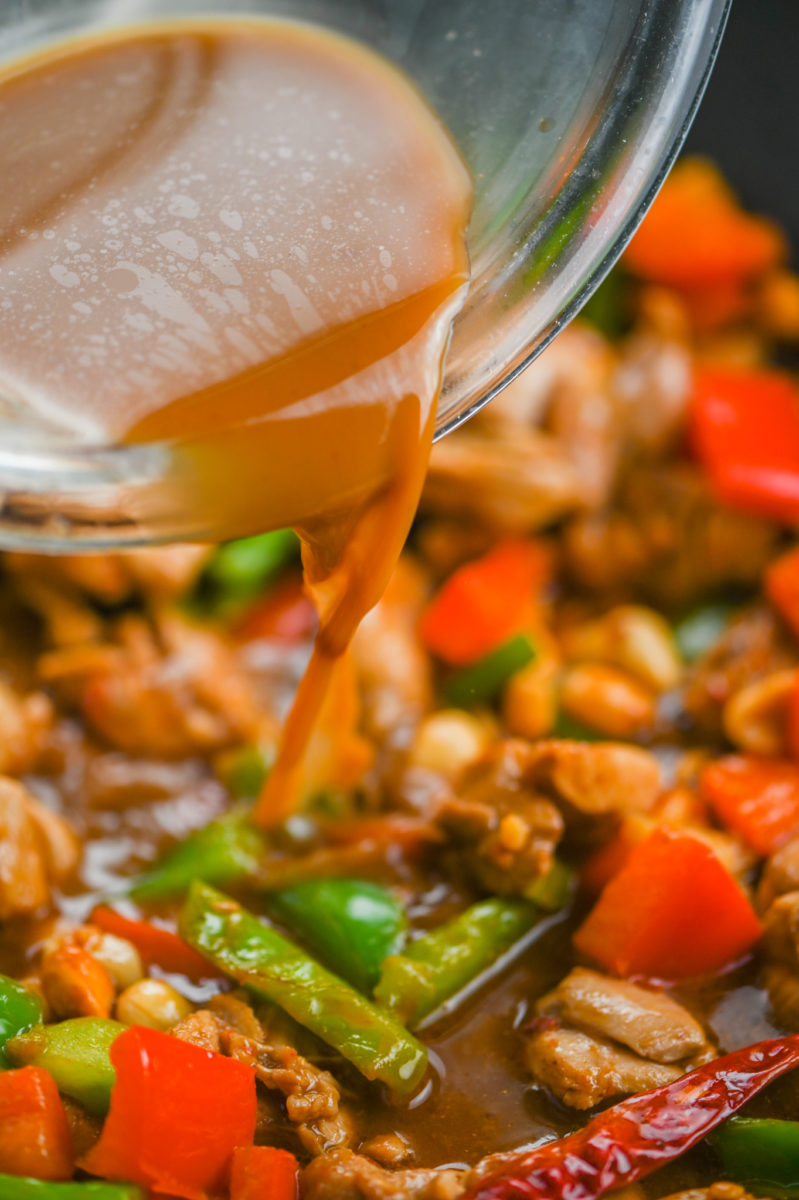
Pour sauce over the stir fry. Toss to coat and cook until thickened. 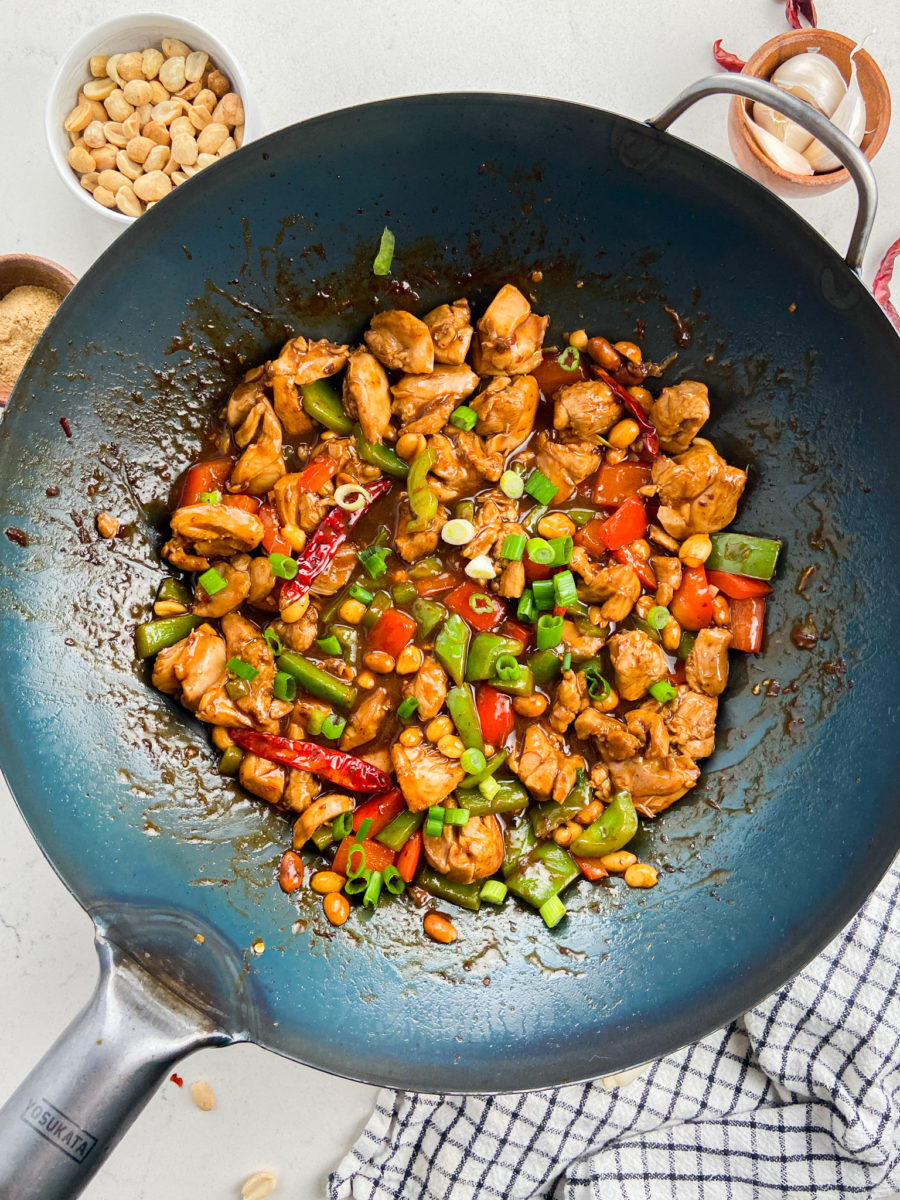
Top with green onions and serve.
- STEP #4: After chicken has marinated, heat oil in wok (or large skillet) and brown the chicken. You may need to do this part in batches.
- STEP #5: Remove chicken and set aside. Heat another tablespoon of oil in the wok and add in green and red bell pepper. Cook just until they start to soften. Add in peanuts and dried chilies.
- STEP #6: Return the chicken to the pan and pour the sauce over the top. Continue cooking until the sauce has thickened and the chicken is cooked through.
- STEP #7 Sprinkle with green onions and serve with rice.
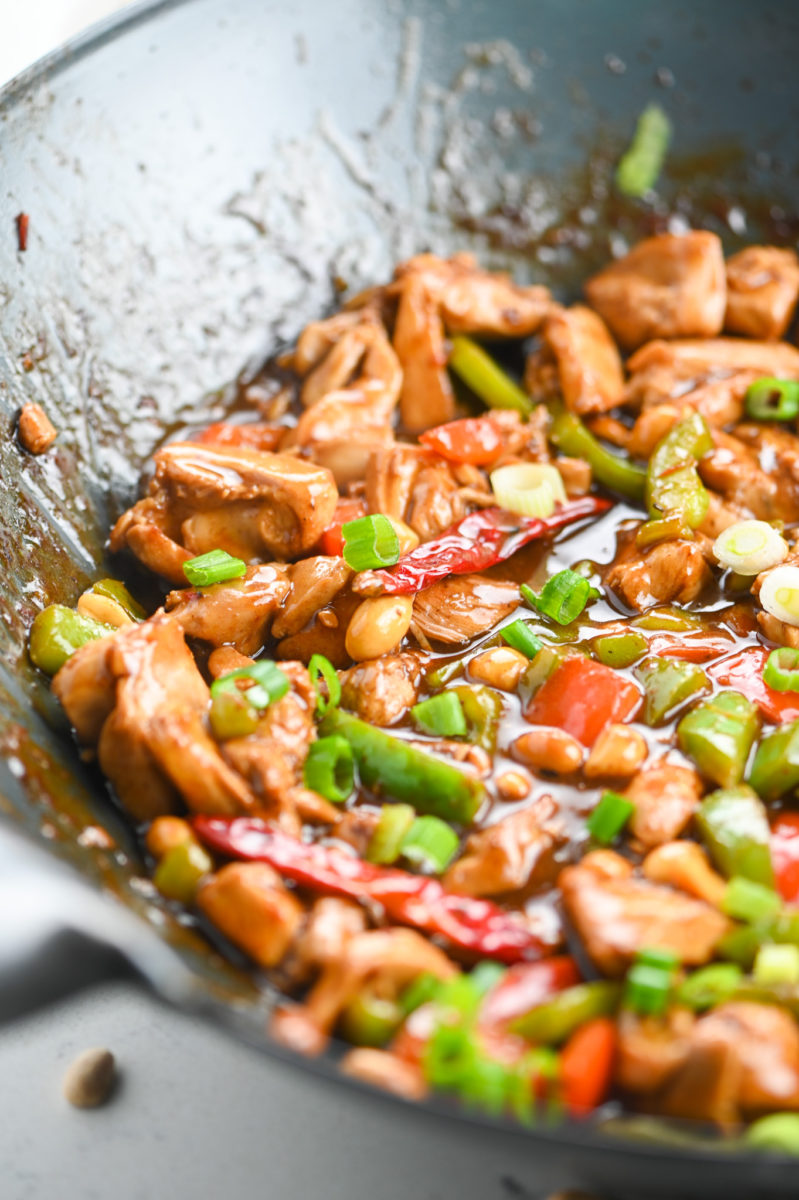
The dried chilies are pretty spicy and biting into one can be a bit hot. You can remove them before serving, or if you’ve got a chile head in the house leave them in for them.
Storage and Leftovers:
This is really best eaten right after it is made, but it will also hold up a couple of days in the refrigerator. Just warm through.
Recipe FAQ:
General Tso’s chicken is deep fried and coated in a sweet sauce. Kung Pao Chicken is stri-fried in a savory sauce that is a bit spicier and not as sweet.
If you can’t find Shaoxing Wine, dry sherry will be the best substitute.
If you cannot find black vinegar, you can substitute white rice vinegar or rice vinegar. I wouldn’t use balsamic because, although they are the same color, balsamic can sometimes be a bit sweet.
Note: This recipe was originally published in 2009. It was updated with a new recipe, photos, nutrition information and step by step photos in 2023.
Kung Pao Chicken
Ingredients
Marinade Ingredients:
- 1 tablespoon chili paste
- 1 tablespoon Chinese black vinegar
- 2 teaspoons soy sauce
- 2 teaspoons sesame oil
- 1 tablespoon shaoxing wine
- 1 1/2 pounds boneless, skinless chicken thighs trimmed and diced into bite-sized pieces
Kung-Pao Sauce Ingredients:
- 1/2 cup low-sodium chicken broth
- 1 tablespoon corn starch
- 2 tablespoons soy sauce
- 1 tablespoon Chinese black vinegar
- 1 tablespoon shaoxing wine
- 1/4 teaspoon ground ginger
- 1/2 teaspoon garlic chili sauce
- pinch of granulated sugar
Stir Fry Ingredients:
- 2 tablespoons oil canola, vegetable or other neutral oil
- 1 red bell pepper diced
- 1 green bell pepper diced
- 1/4 cup roasted peanuts
- 3-4 dried red chilies
- 2 green onions chopped for garnish
Instructions
- Combine marinade ingredients and chicken in a bowl and resealable plastic bag. Marinate for 1 hour.
- In a bowl whisk together Kung Pao Sauce ingredients.
- After chicken has marinated, heat 1 tablespoon oil in a wok (or large skillet). Remove chicken from marinade and brown over medium-high heat. Transfer to plate set aside.
- In the same pan you cooked the chicken in heat 1 tablespoon oil over medium-high heat. Add diced bell peppers, peanuts and chilies. Cook for 2 minutes. Return chicken to the pan. Pour in sauce mixture. Toss to coat. Continue cooking over medium-high heat until the sauce has thickened and the chicken is cooked through.
- Transfer to serving dish. Sprinkle with green onions and serve.

Miz
December 5, 2023 at 12:32 pmWhy did you change the recipe? I loved the original. This one has many ingredients I will have to order and I suspect it won’t taste as lovely as the original. Sad.
Deseree
December 5, 2023 at 5:07 pmHi Miz, check your email, I sent you the old recipe! :)
Diana
March 23, 2011 at 3:07 pmtrying this on Sunday. Is the rice vinegar in the marinade the same as rice wine vinegar in the sauce? Can’t wait to try all these new dishes.
Deseree
March 23, 2011 at 4:27 pmHey Diana- Yep the vinegars are the same. Sorry for any confusion!
Soma
September 20, 2009 at 7:52 amOur family favorite asian dish:-) ordered take out yesterday. looks beautifully appetizing.
Mrs. L
September 18, 2009 at 11:01 amKung Pao Chicken is a favorite dish of mine to order at local Sichuan restaurants but I’ve never actually made it before. This sounds easy and yummy.
cassie
September 17, 2009 at 7:46 pmI love Kung Pao chicken. I’ll try this recipe.
Danielle
September 17, 2009 at 5:42 amI’m so glad I found your site! I love that so many of your recipes include items that I already have in my pantry. I bookmark so many of them and have successfully tried several. Thank you for your continued inspiration and great recipes!
I wondered if I could ask about your photography. One of the main reasons I keep coming back is your incredible pictures. Do you have any pointers to share? I have a Canon DSLR but as you can see from 99% of my pictures, they’re not professional and the color seems to be the culprit. Do you take all your pictures in natural light? How do you do that at night when you’re presumably cooking dinner? Any advice you have would be greatly appreciated. Thanks in advance and keep up the good work!
Deseree
September 20, 2009 at 2:23 pmHey Danielle, Thank you for the nice comments about the blog! I am so happy to hear that you have had such success with many of the recipes :) As far as my pictures goes, Ryan takes them but I have watched him so I know what he does. First of all, rarely do we use natural light (Gasp!). It’s just that the pictures you see are of our dinner and we usually eat dinner a little late after the sun has set. So to get the right lighting we have a small pop-up lighting tent that we put the food in. We then use our regular lamp with a compact fluorescent light and shine that into the box. Ryan got our light tent from work but I just did a google search and it seems like you can buy one for around $50-60. There also seems to be a few good tutorials on how to make one yourself if you don’t want to buy one. Once you have the tent just mess around with different angles and positions to find the feel that you want your pictures to have. I hope this helps!